ELLIE
Wenn es um Charaktere geht, gibt es einige, die den Test der Zeit bestehen. Mit diesem Projekt wollten wir die Arbeitsabläufe in der Branche testen, um einen so glaubwürdigen Charakter zu erschaffen und gleichzeitig Naughty Dog und deren fantastisches Spiel und Story zu würdigen.
Wir sind große Fans der Franchise und haben deshalb unser eigenes “ehrgeiziges” Charakterprojekt gestartet, um die häufigsten Probleme zu identifizieren, die auf dem Weg dorthin auftreten können, und vor allem, um einen Zeitplan aufstellen zu können, um zu wissen, wie viel Zeit es erfordert, so etwas zu erstellen, damit wir unsere zukünftigen Projekte realistischer einschätzen zu können.

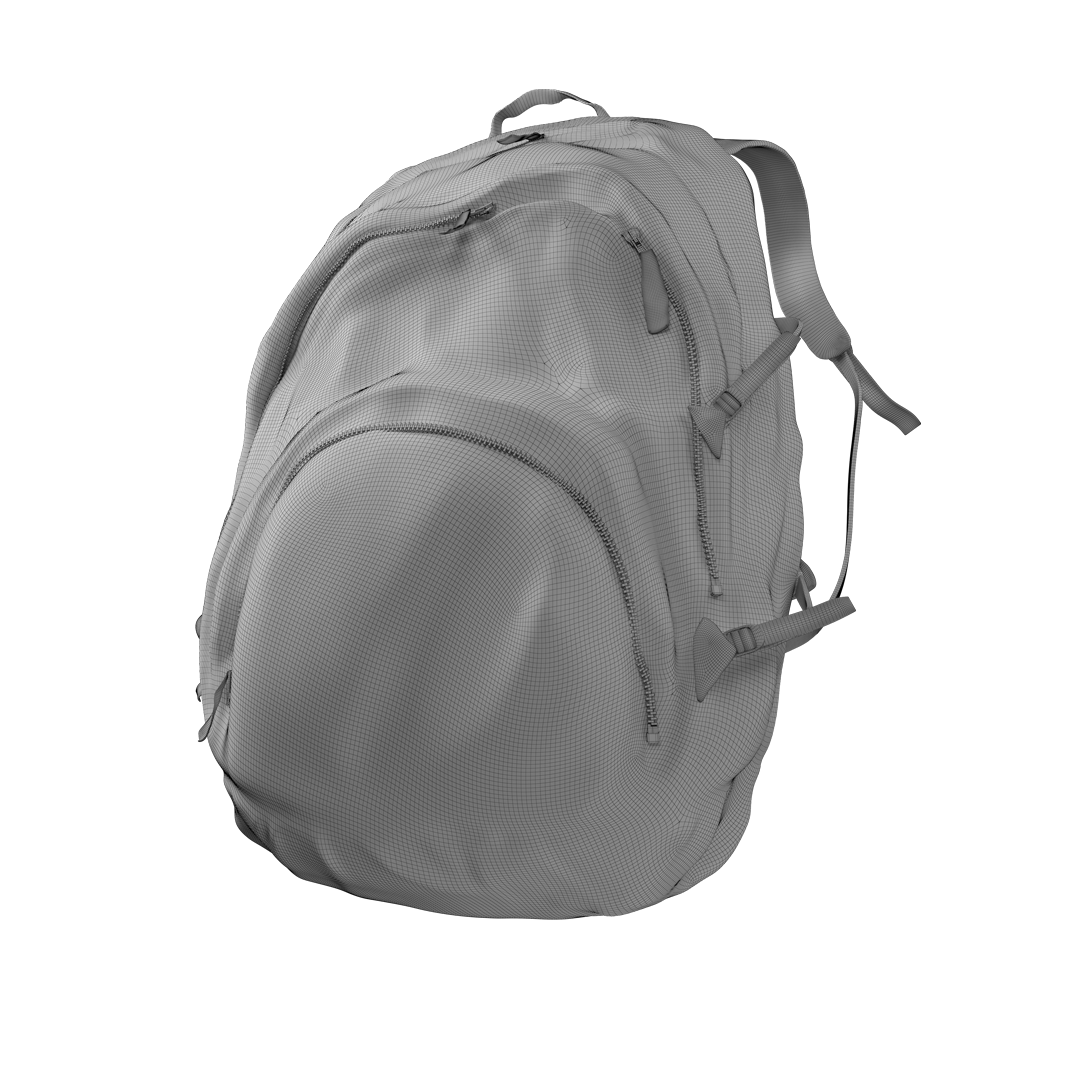
Nachdem wir zahlreiche Referenzen und Guide-Fotos gesammelt haben, war es an der Zeit, mit dem Blocking unserer Geometrie zu beginnen. Um das zu tun, haben wir ein generisches Basis-Mesh aus Zbrush für den Körper verwendet und alles begann, sich darum zu drehen. Nachdem wir die Proxy-Geometrie platziert haben, begannen wir mit der Modellierung des Hauptkörpers.

Wir wollten den Stil der Spiele ein wenig verändern und haben versucht, Ellie reifer zu machen, um sie sich so vorzustellen, wie sie in der Zukunft oder in ihren 30ern aussehen wird. Eine stärker ausgeprägte Kieferlinie und gealterte Hautmikrodetails.

Bei komplexen Figuren haben wir gelernt, alles aus der Konstruktion heraus als einzelne “kleine Projekte” zu behandeln und auch den unsichtbaren und kleinen Teilen die gleiche Bedeutung zu geben. Auf diese Weise können wir am Ende einen hohen Qualitätsstandard für Nah- und Fernaufnahmen gewährleisten. Dieser Ansatz wird auch in Zukunft zu unserer Philosophie gehören, qualitativ hochwertige Produkte und Dienstleistungen anzubieten.
Nach der Fertigstellung des Modells mit allen Teilen und ständigen Tests, um zu sehen, ob die Displacement-Texturen und das UV-Mapping richtig funktionieren, fühlten wir uns zuversichtlich, die Texturierungsphase zu beginnen. Ein guter Tipp für alle, die in diesem Bereich neu anfangen, ist es, nicht mit der Texturierung zu beginnen, wenn man die Modellierungsphase noch nicht richtig abgeschlossen hat. Manchmal geht einem die Energie aus, wenn man zu lange an einem Projekt gearbeitet hat, und man möchte einige Schritte überspringen, um voranzukommen. Das ist absolut nicht empfehlenswert. Das wird sich später rächen und viel mehr Probleme verursachen, und schließlich wird es mehr Zeit kosten, als man erwartet hat.
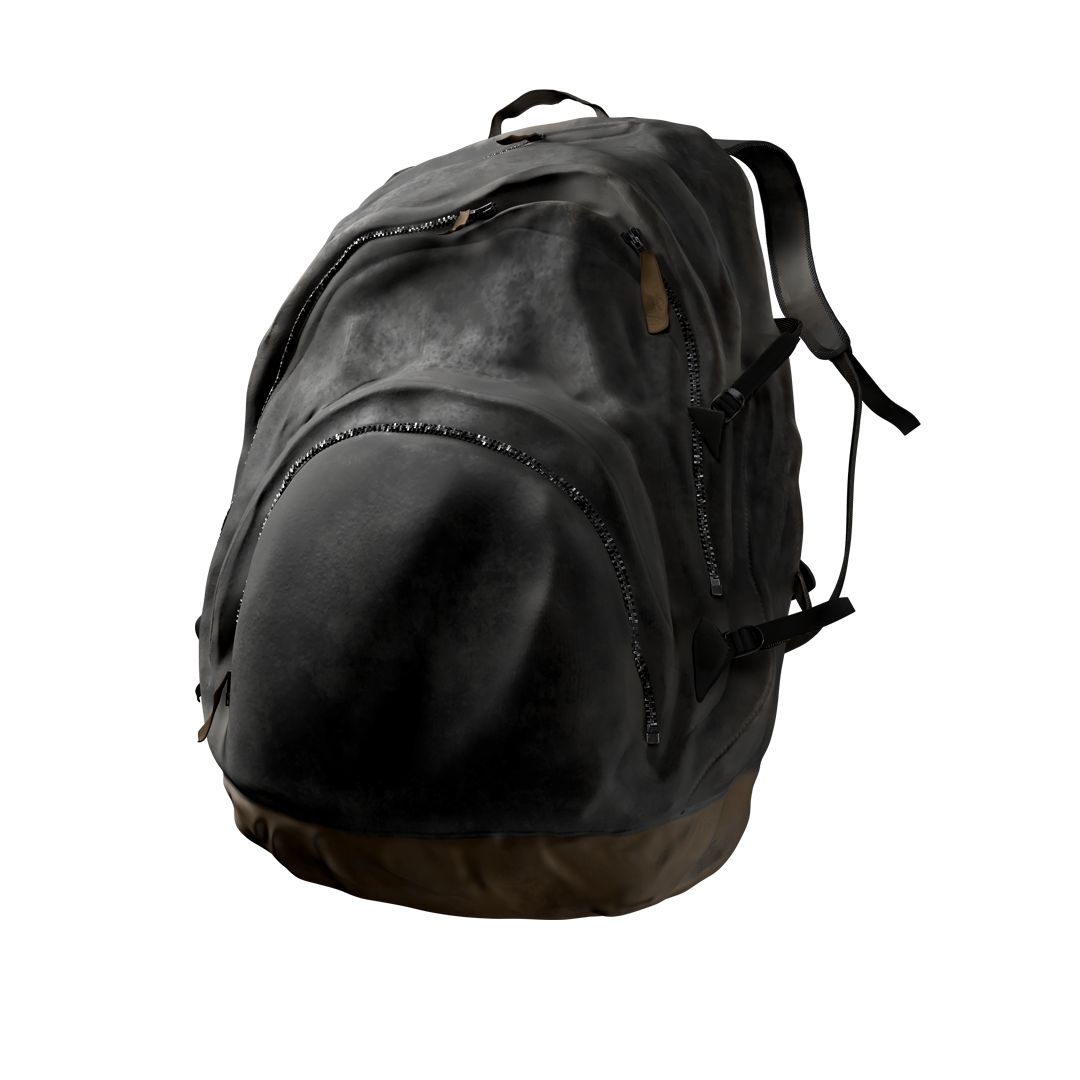
Eine nette Sache, die wir nützlich fanden, war die Mischung zwischen Displacement in Zbrush und zusätzliches Displacement gemacht in Substance painter. Um es effektiv zu nutzen, mischten wir die beiden mit Substance Designer, um eine endgültige Textur, die wir für das endgültige Material verwenden können, zu haben.

Überprüfen Sie immer die AOVs der Übergänge. Für jedes Asset analysieren wir die Übergänge, um Fehler zu erkennen oder den gewünschten Look weiter zu verbessern. Dies ist bei uns zu einem Standardverfahren geworden.

Für die Kleidung haben wir Marvelous Designer verwendet. Sobald die Kleidungsstücke erstellt waren, importierten wir sie in Zbrush, um sie weiter zu detaillieren und Mikrodetails hinzuzufügen.

Im Folgenden wollen wir zeigen, wie detailliert wir jedes einzelne Element dieses Projekts gestalten wollten. Das Projekt ist noch in Arbeit, wir arbeiten gerade an der Grooming-Phase mit XGen. Weitere Details und Updates werden bestimmt noch kommen, wenn Sie also neugierig sind, können Sie die News&Breakdowns lesen oder sich für unseren Newsletter anmelden, um Neuigkeiten aus unserem Studio zu erhalten. Herzlichen Dank!


