CABIN ON A LAKE
A new approach to archviz.
In this breakdown I will show how we approach every #Archviz project, regardless of dimension or type.
– Cosmin –
REFFERENCES
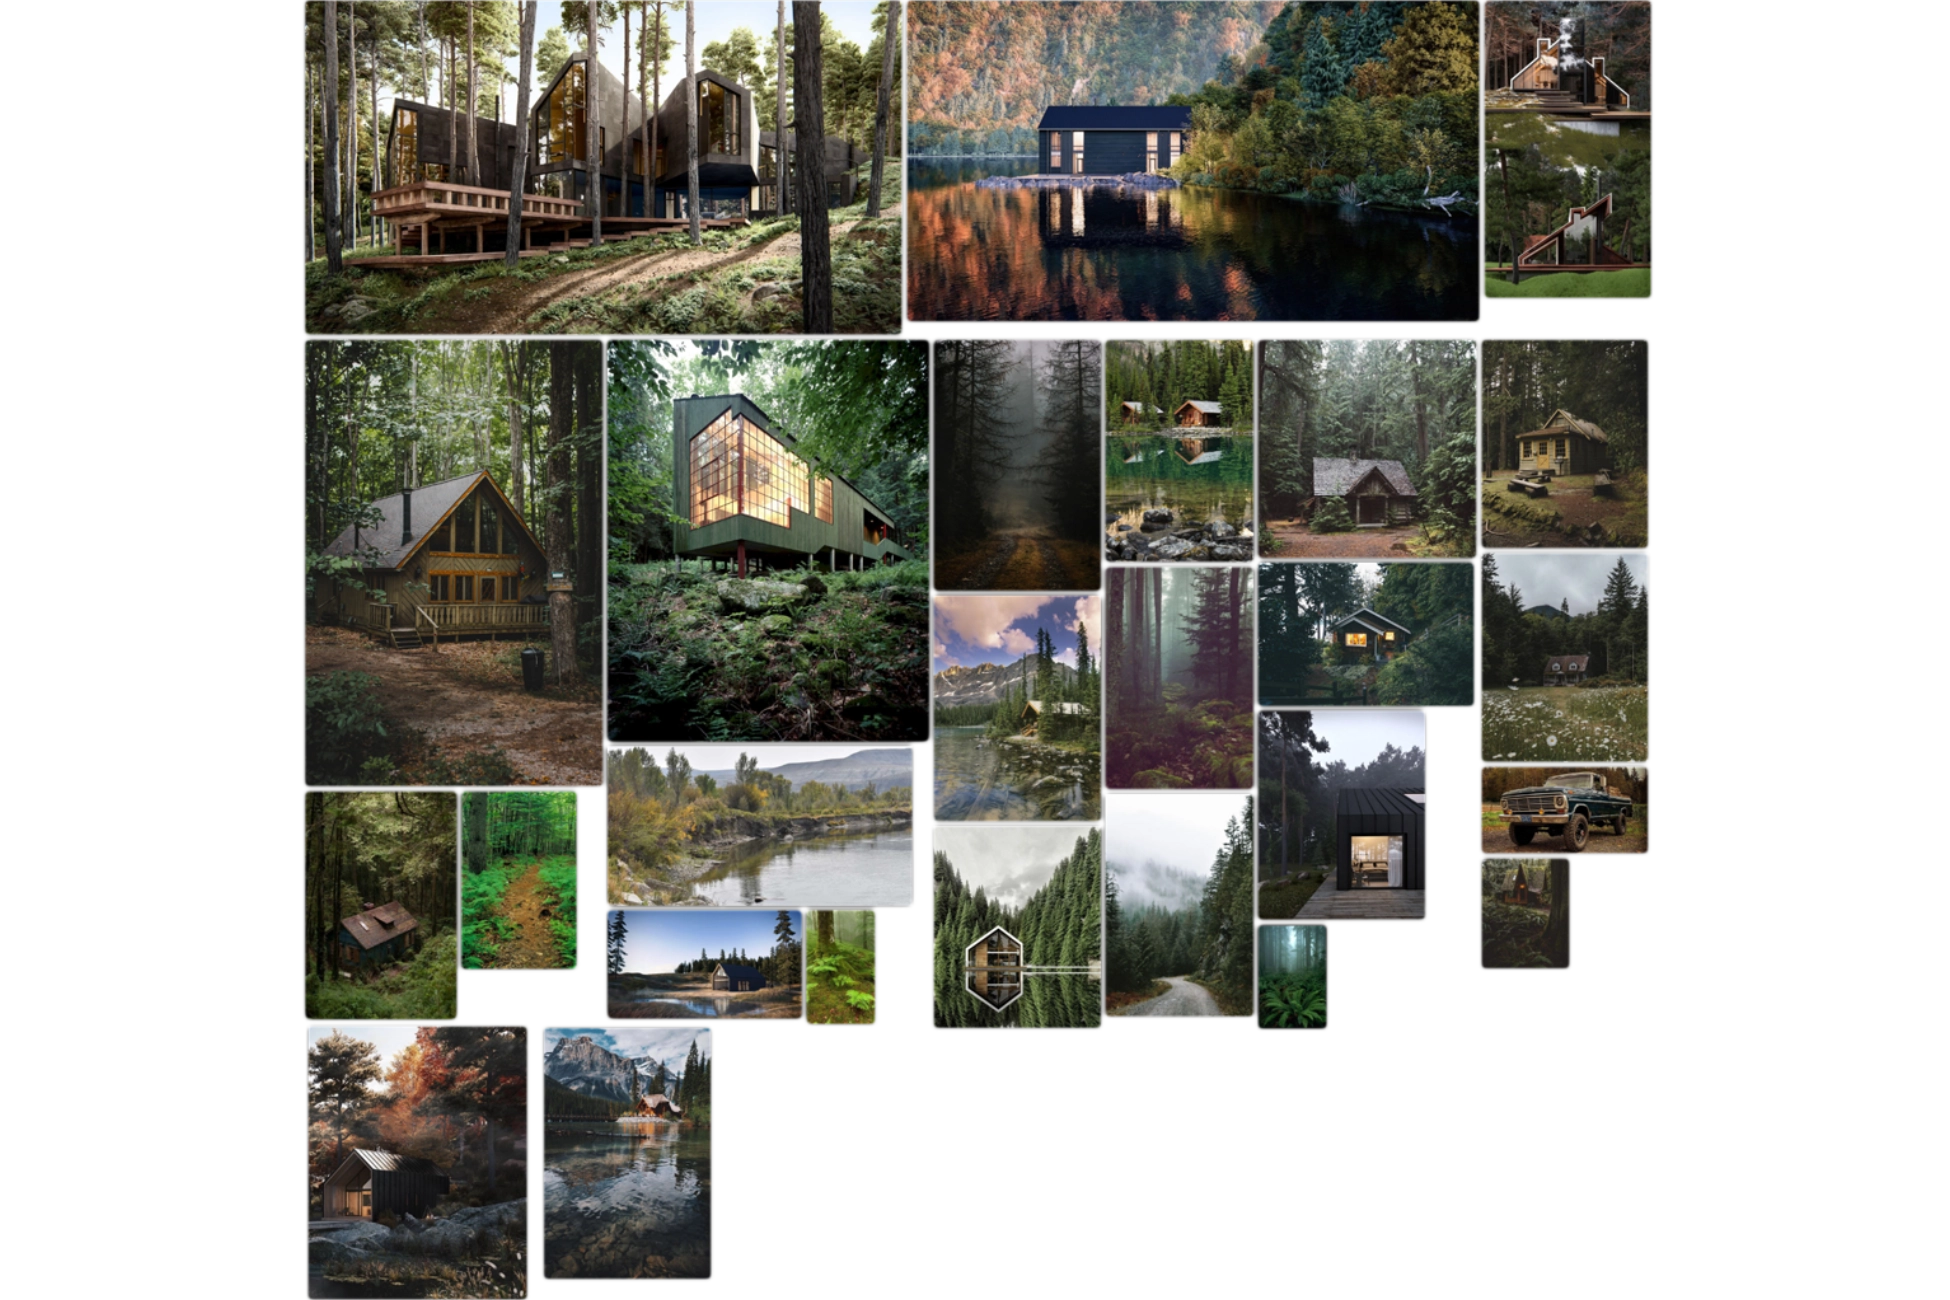
It’s difficult to start building something without knowing how it will look like in the end. Therefore the best way to start is by gathering a ton of references and compile them on a board using PureRef. This helps a lot in forming an overall picture of the project. It offers an idea of the upcoming task.
CONCEPT
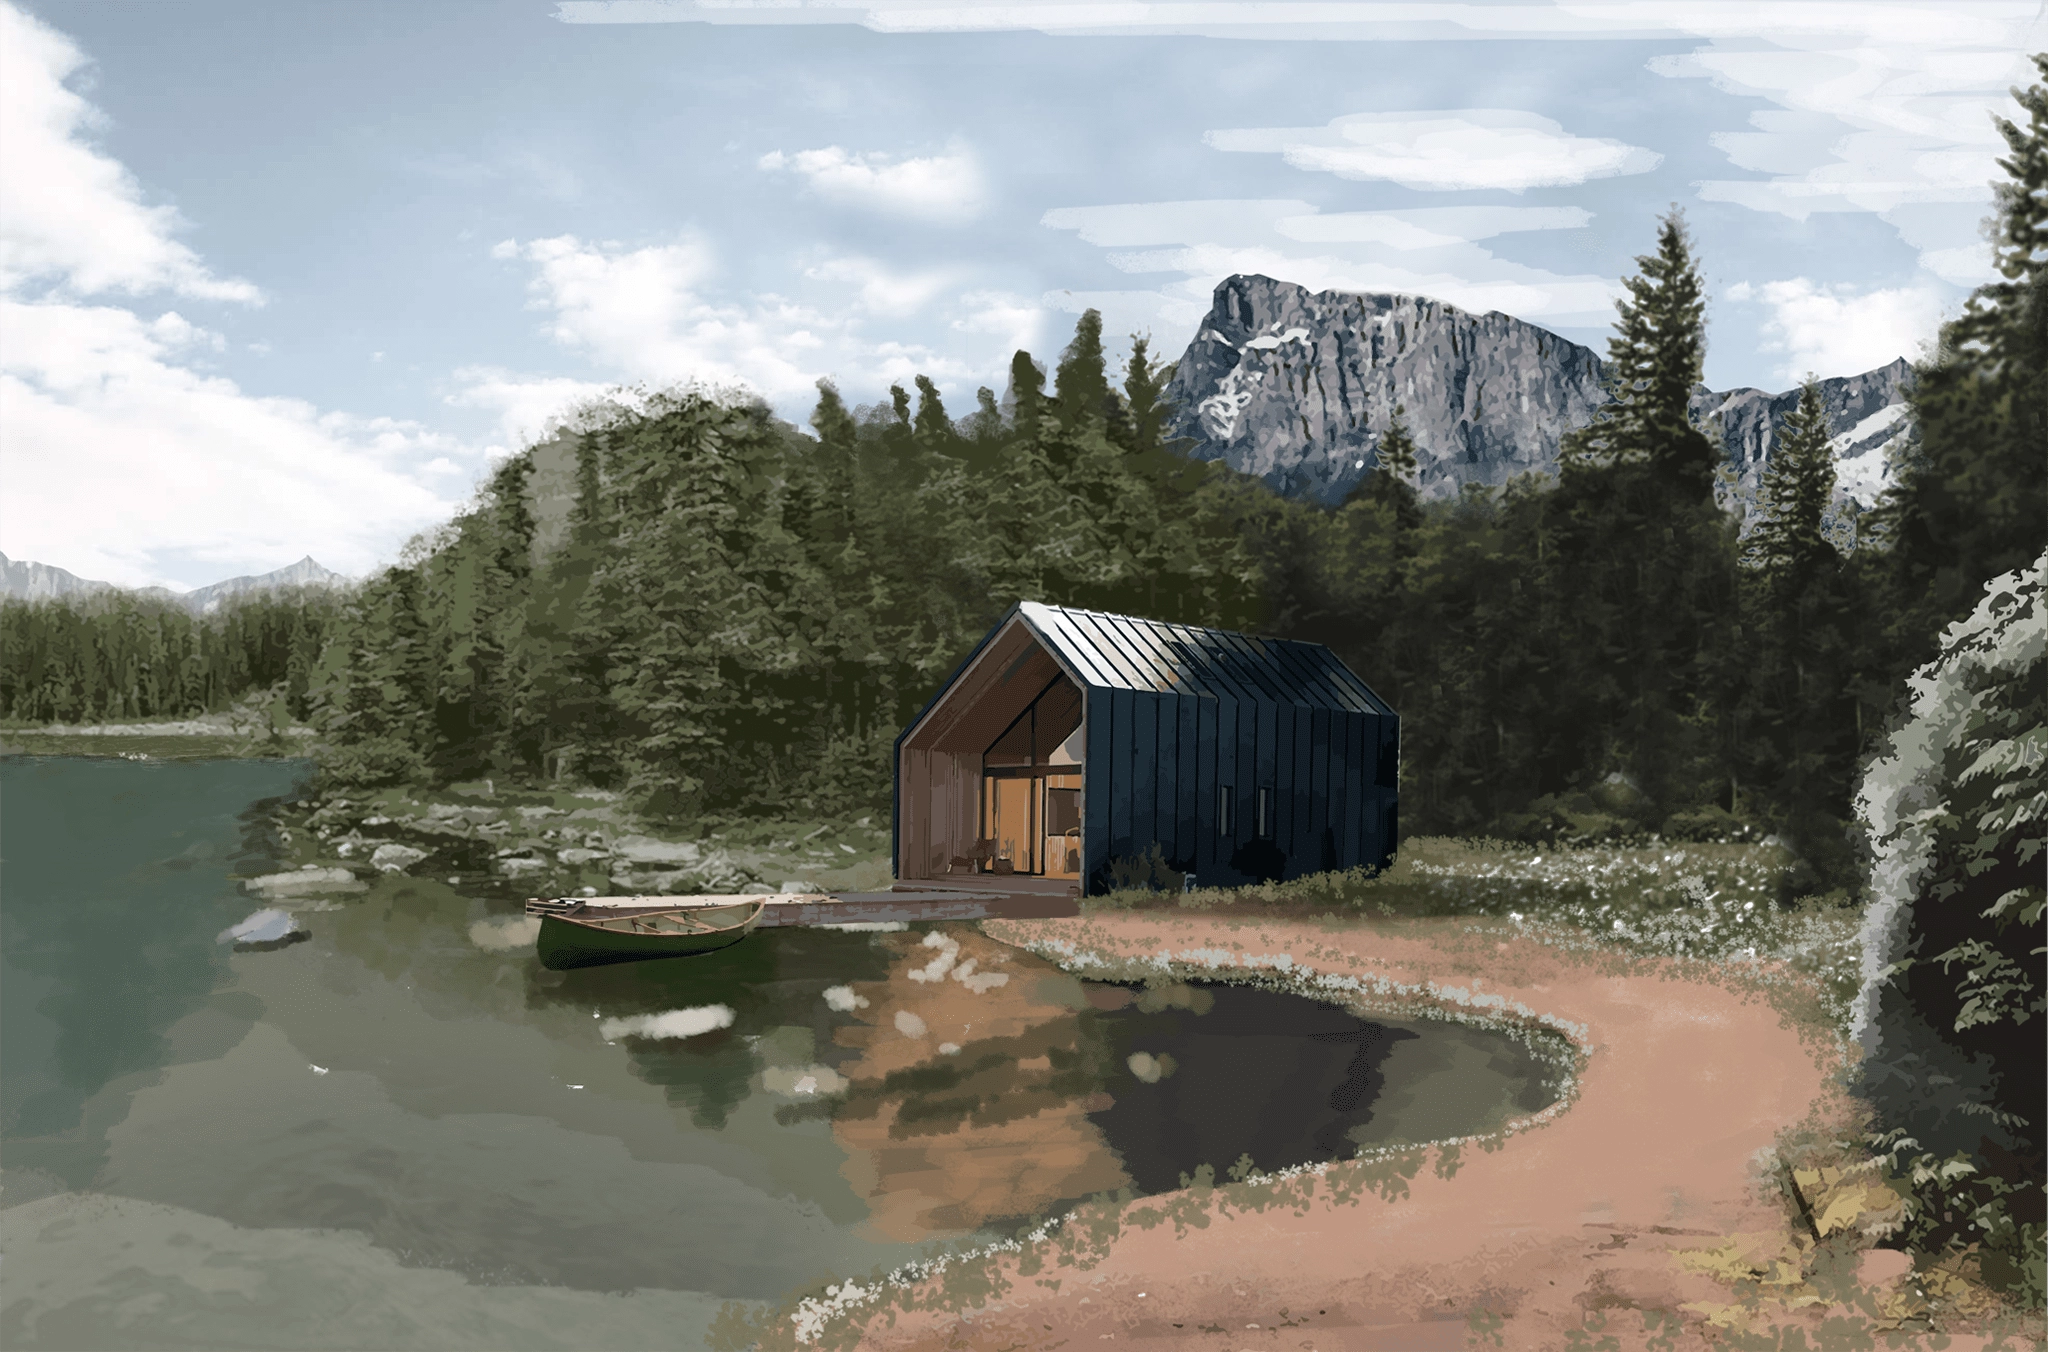
CAMERA PROJECTION
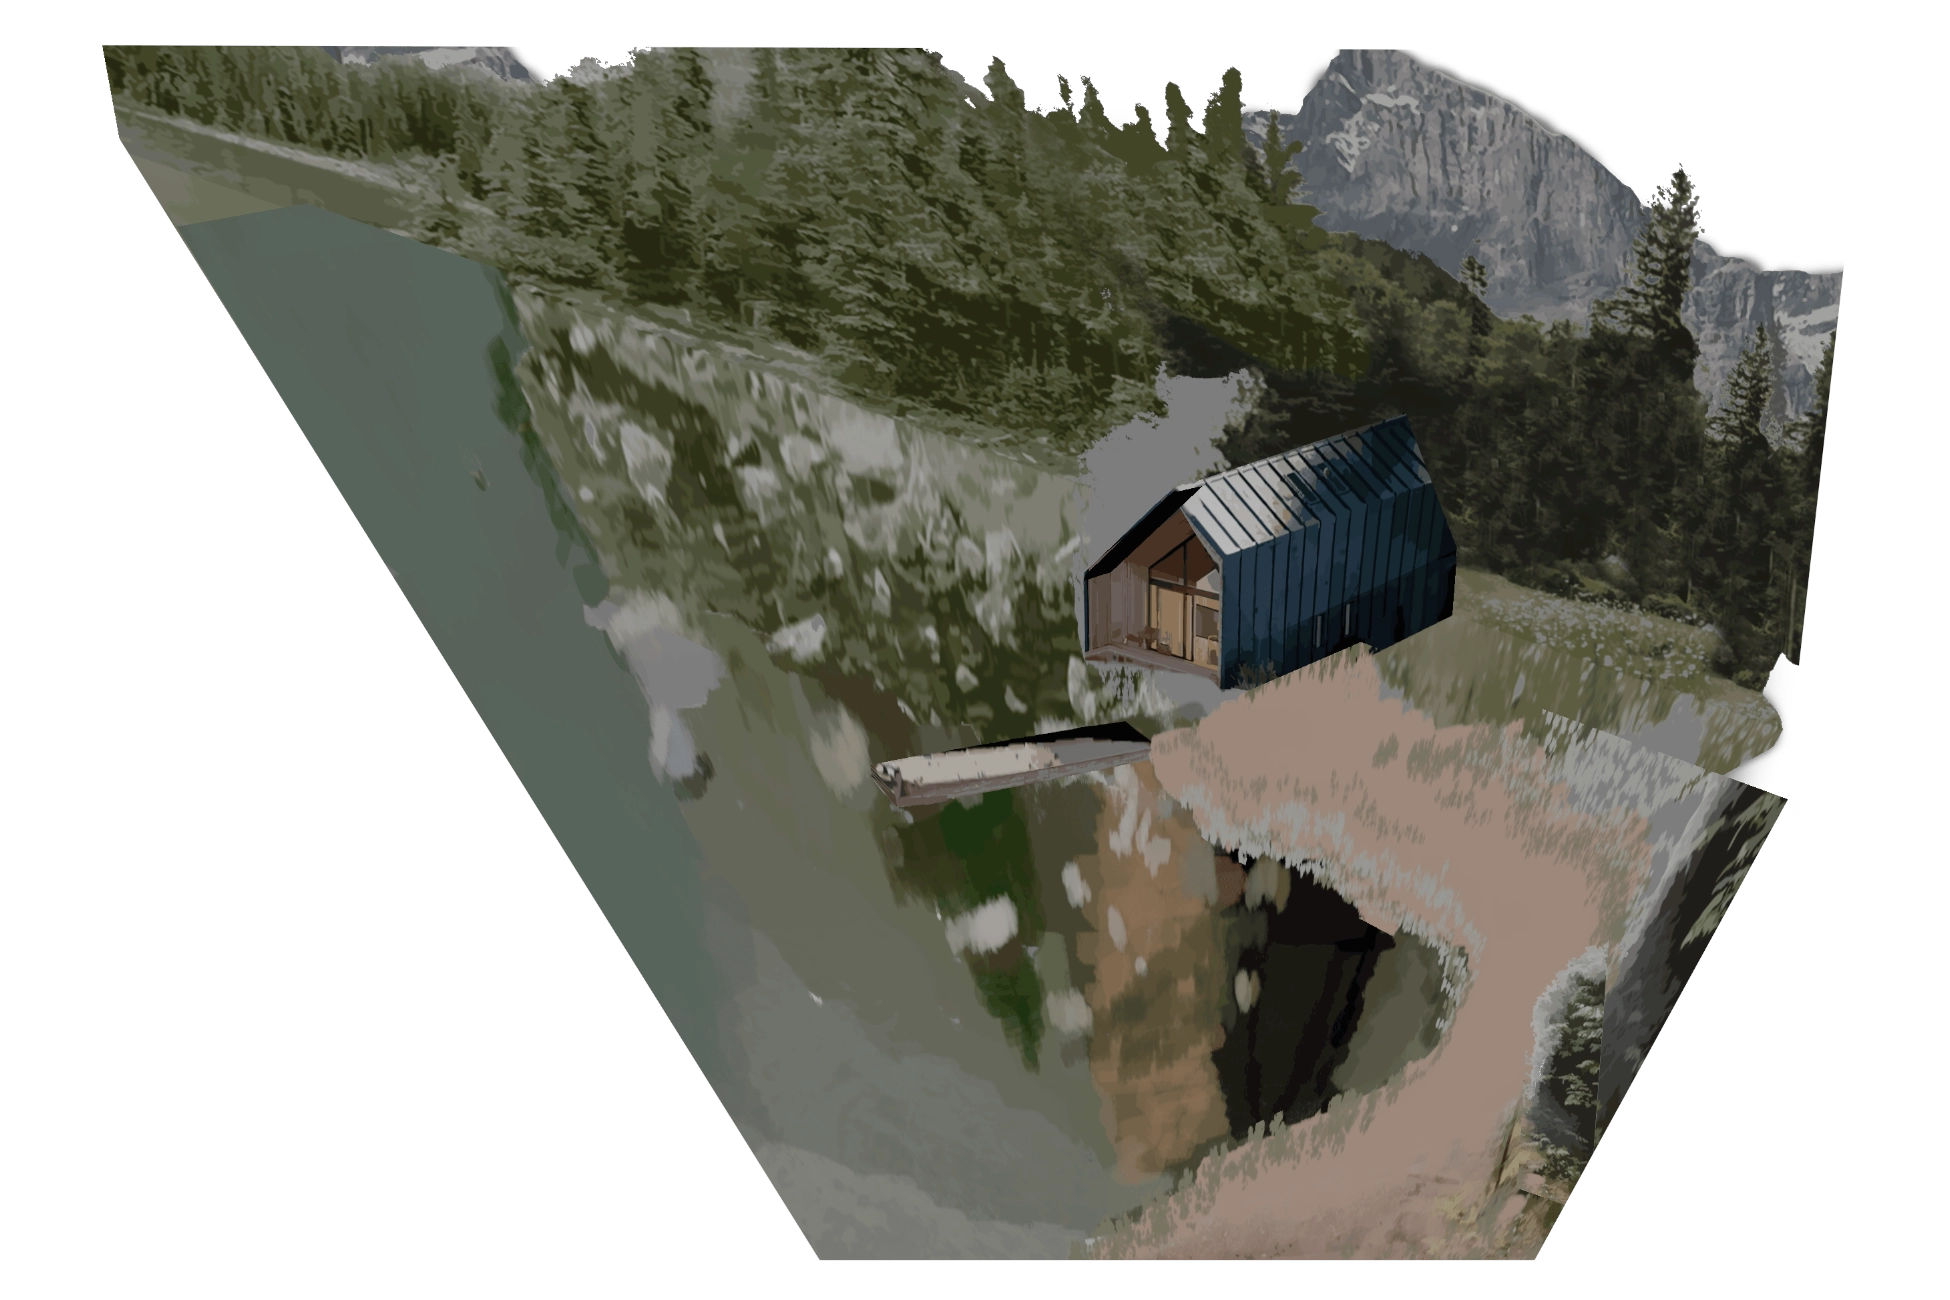
I use camera projection techniques to bring the concept image into the 3D space, so we can start blocking the scene and make further adjustments. This provides us with the right scale and position.
BLOCKING
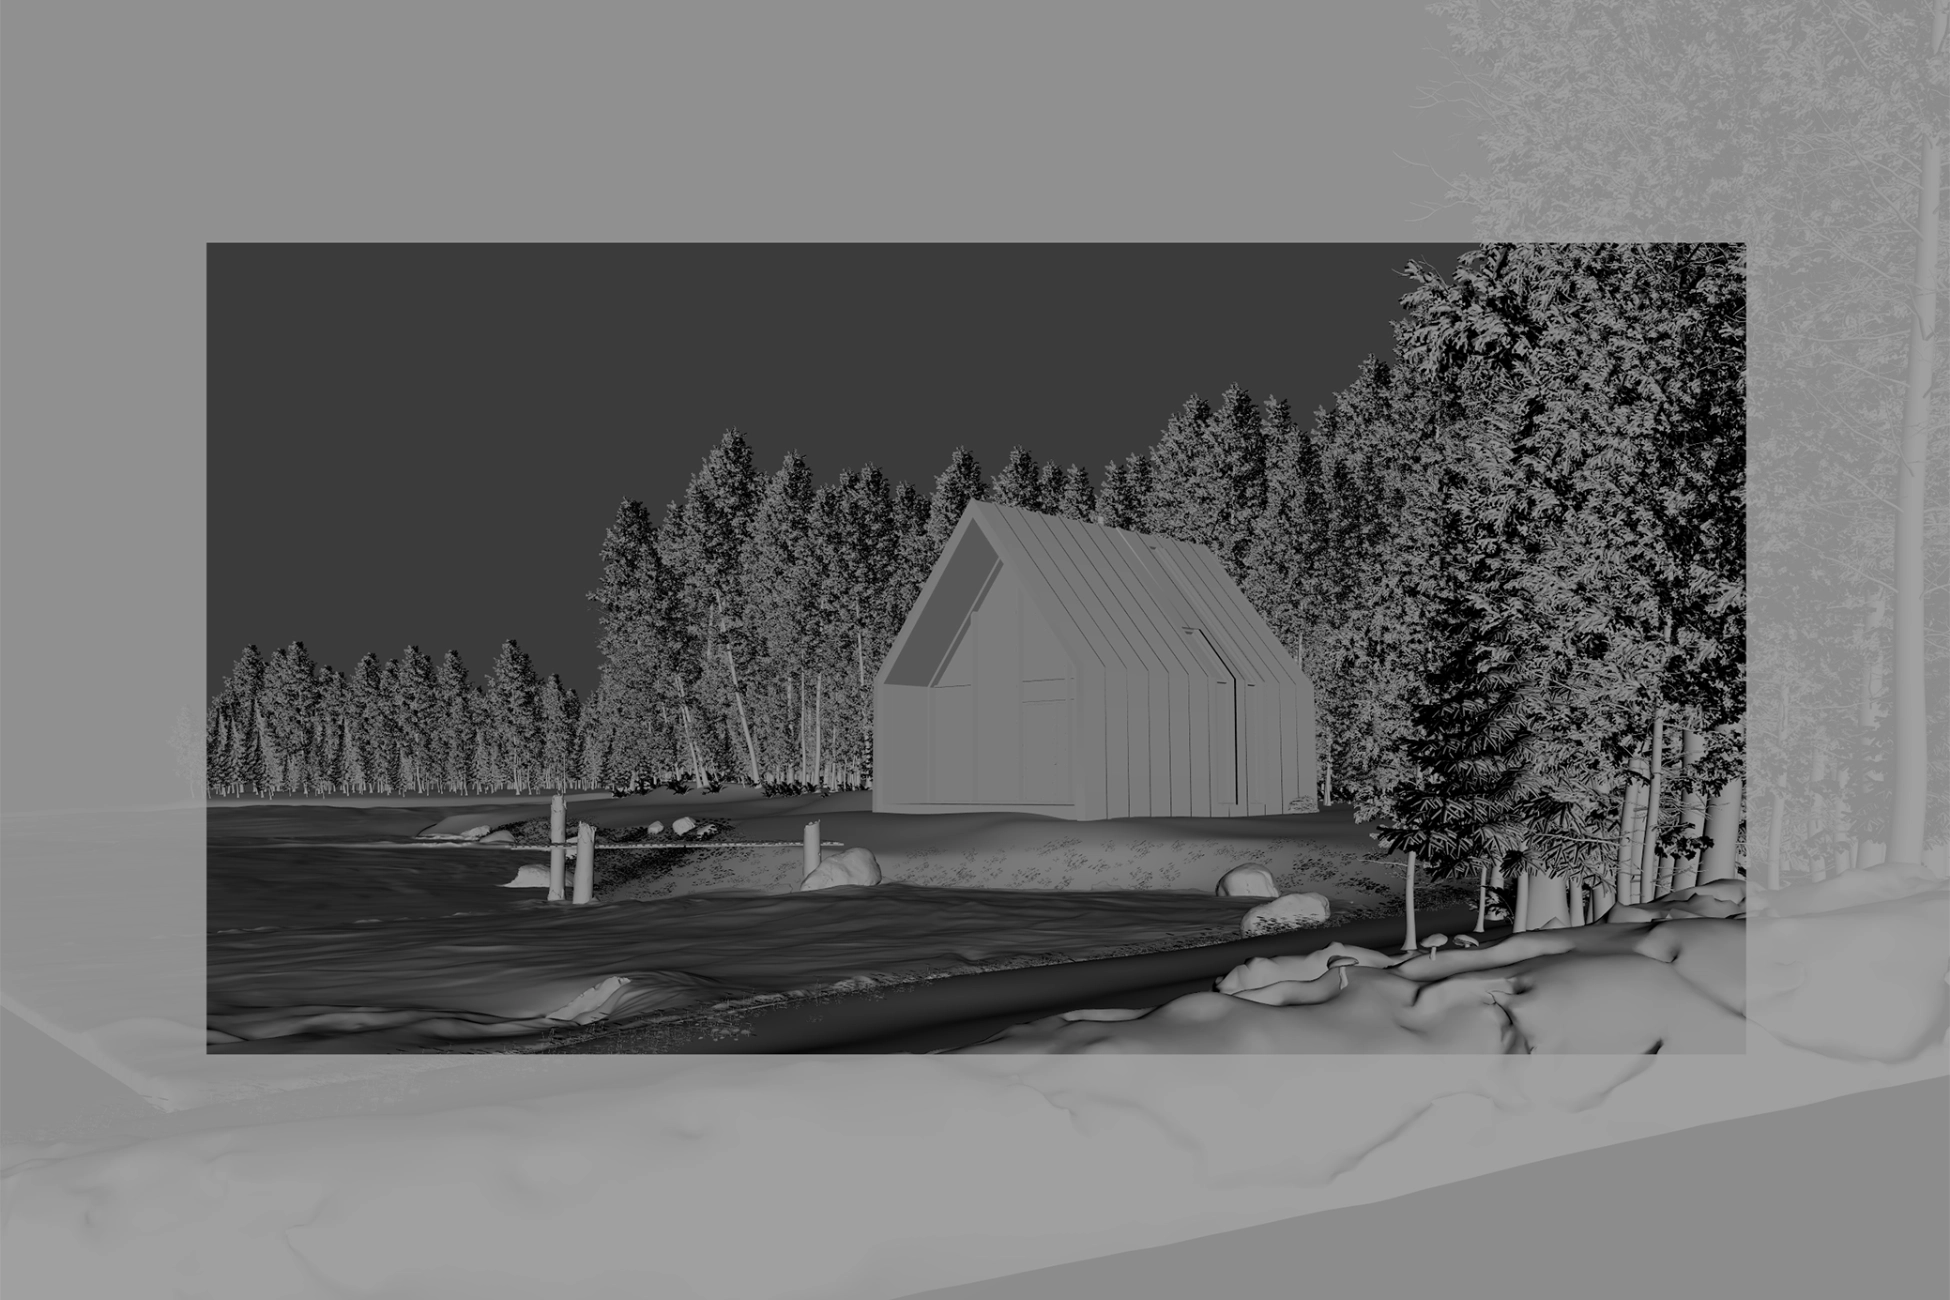
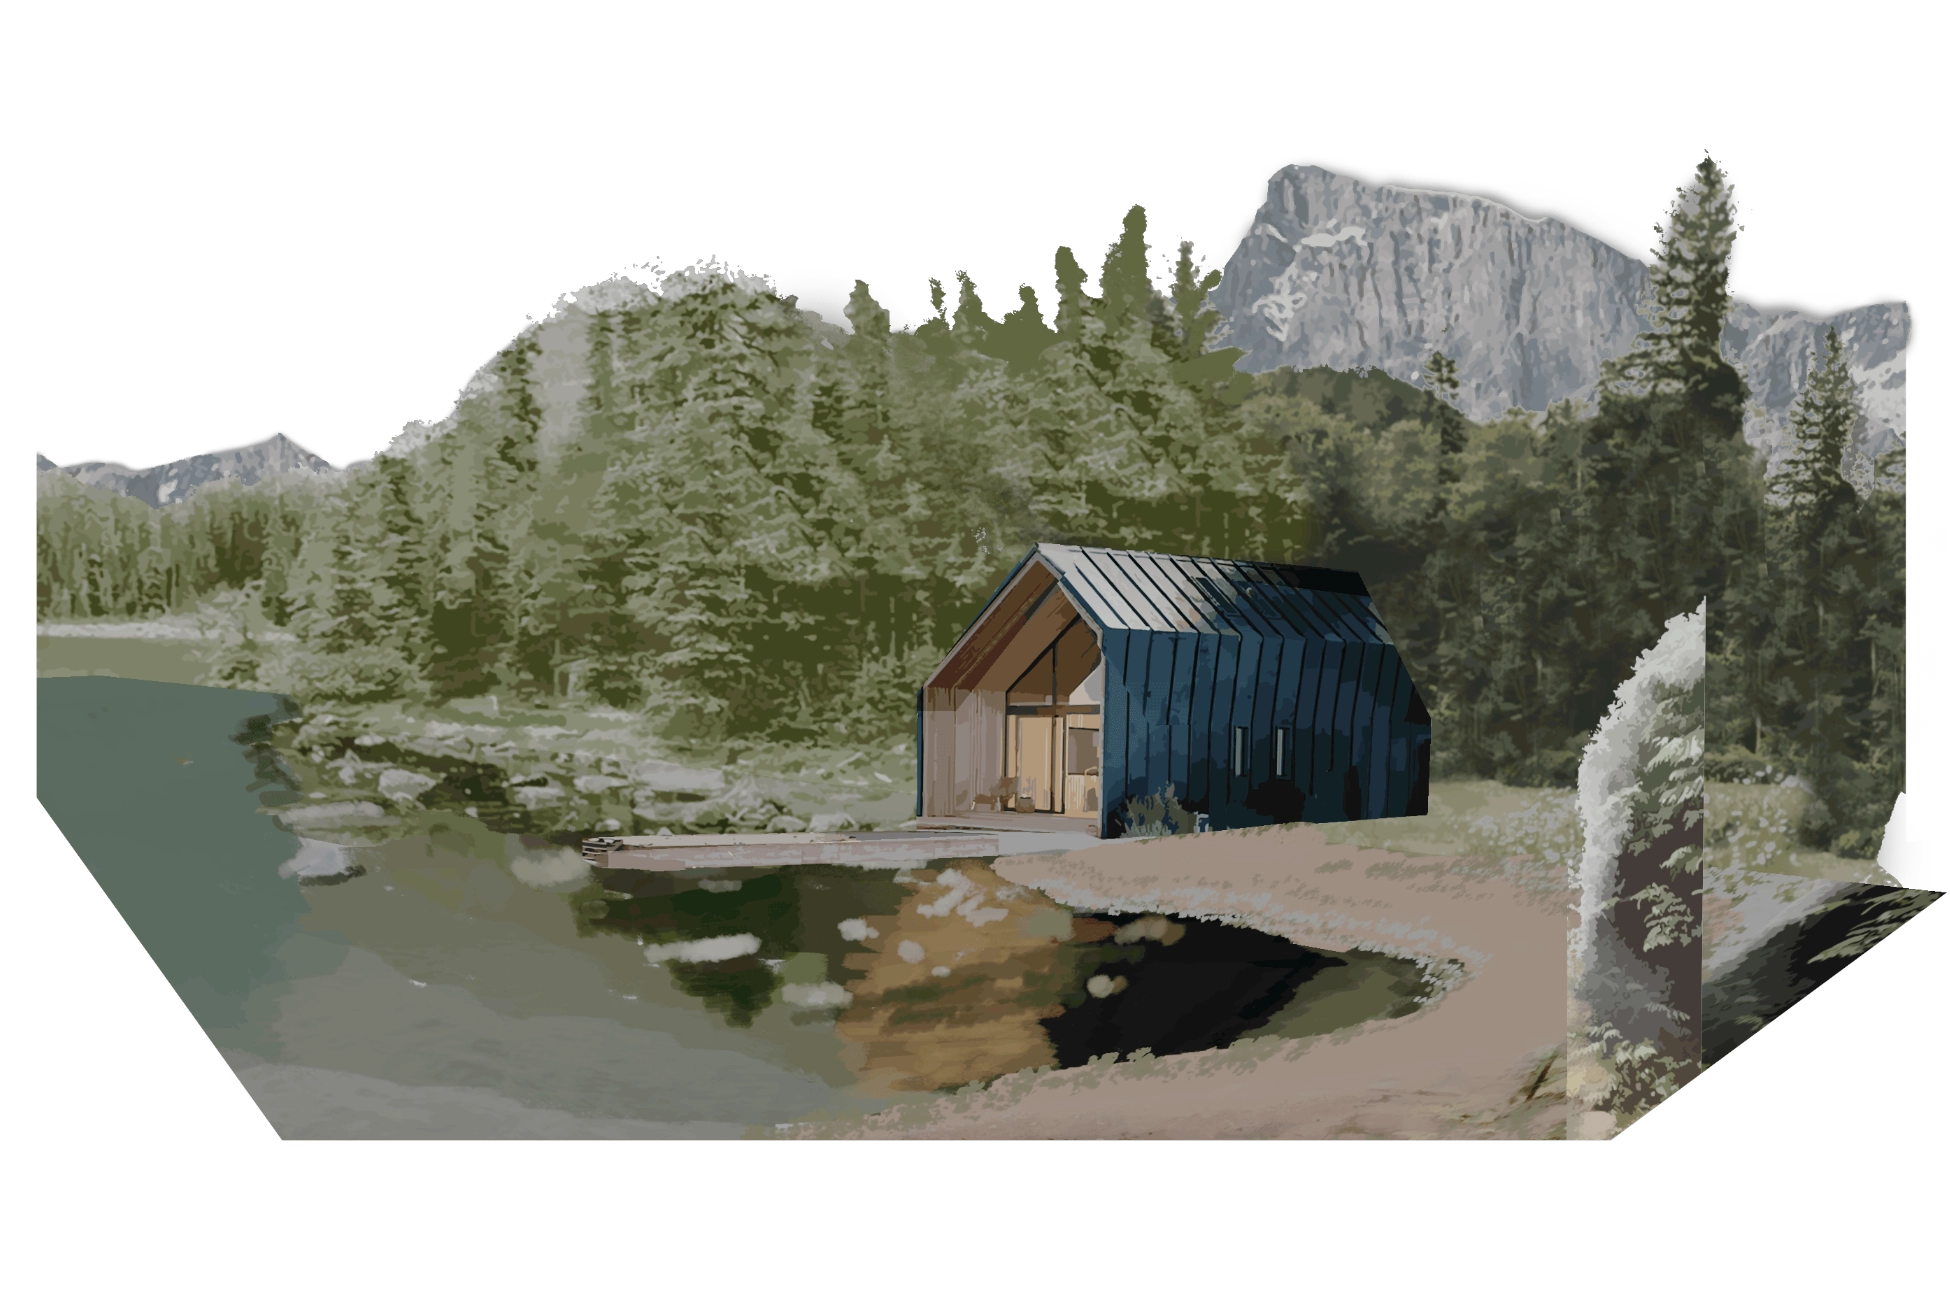
We start modelling and blocking out the scene using simple geometry which we will further detail. In this early phase, refinements can be easily made. We identify the important elements from the concept image and transpose them into 3D space. Pretty straight forward to this point. This is a good time to set the camera view, with which we will later render the scene.
SIMULATIONS
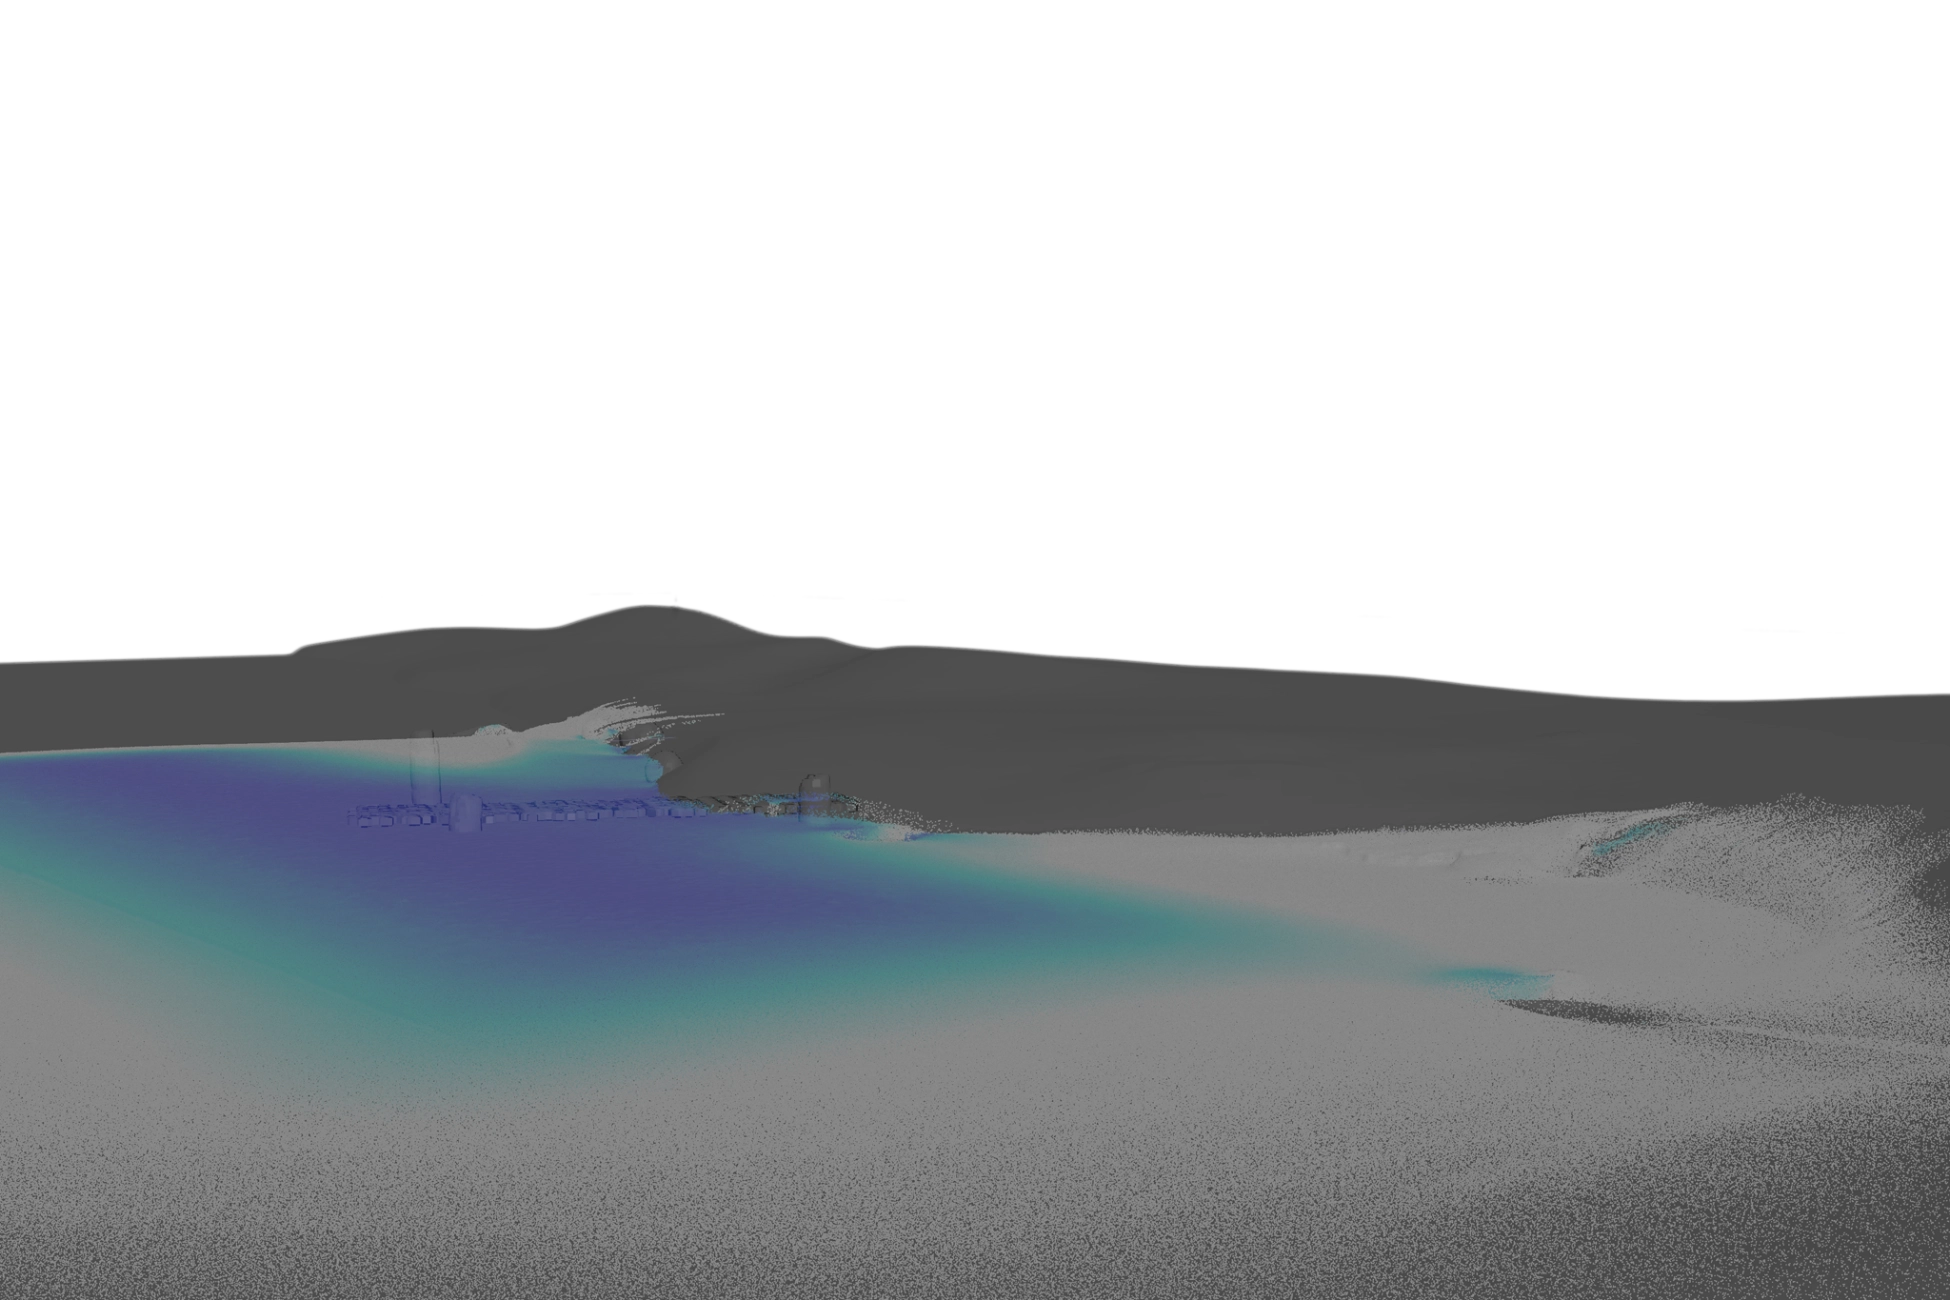
This is the step which many avoid or do not even think about when dealing with #Archvis projects. General 3D simulations for elements like water, fire or clouds. An obvious workflow would be to set up a plane, which will represent the water level and then to throw a texture on it and call it done, or to fake it using Photoshop. But we like to push things a little further in terms of quality, meaning that we choose to simulate water, puddles, or any other natural element with the help of Houdini or Bifrost engine inside Maya. This gives a much more sens of realism and makes the rendering stand out.
SCATTERING & LIGHTING
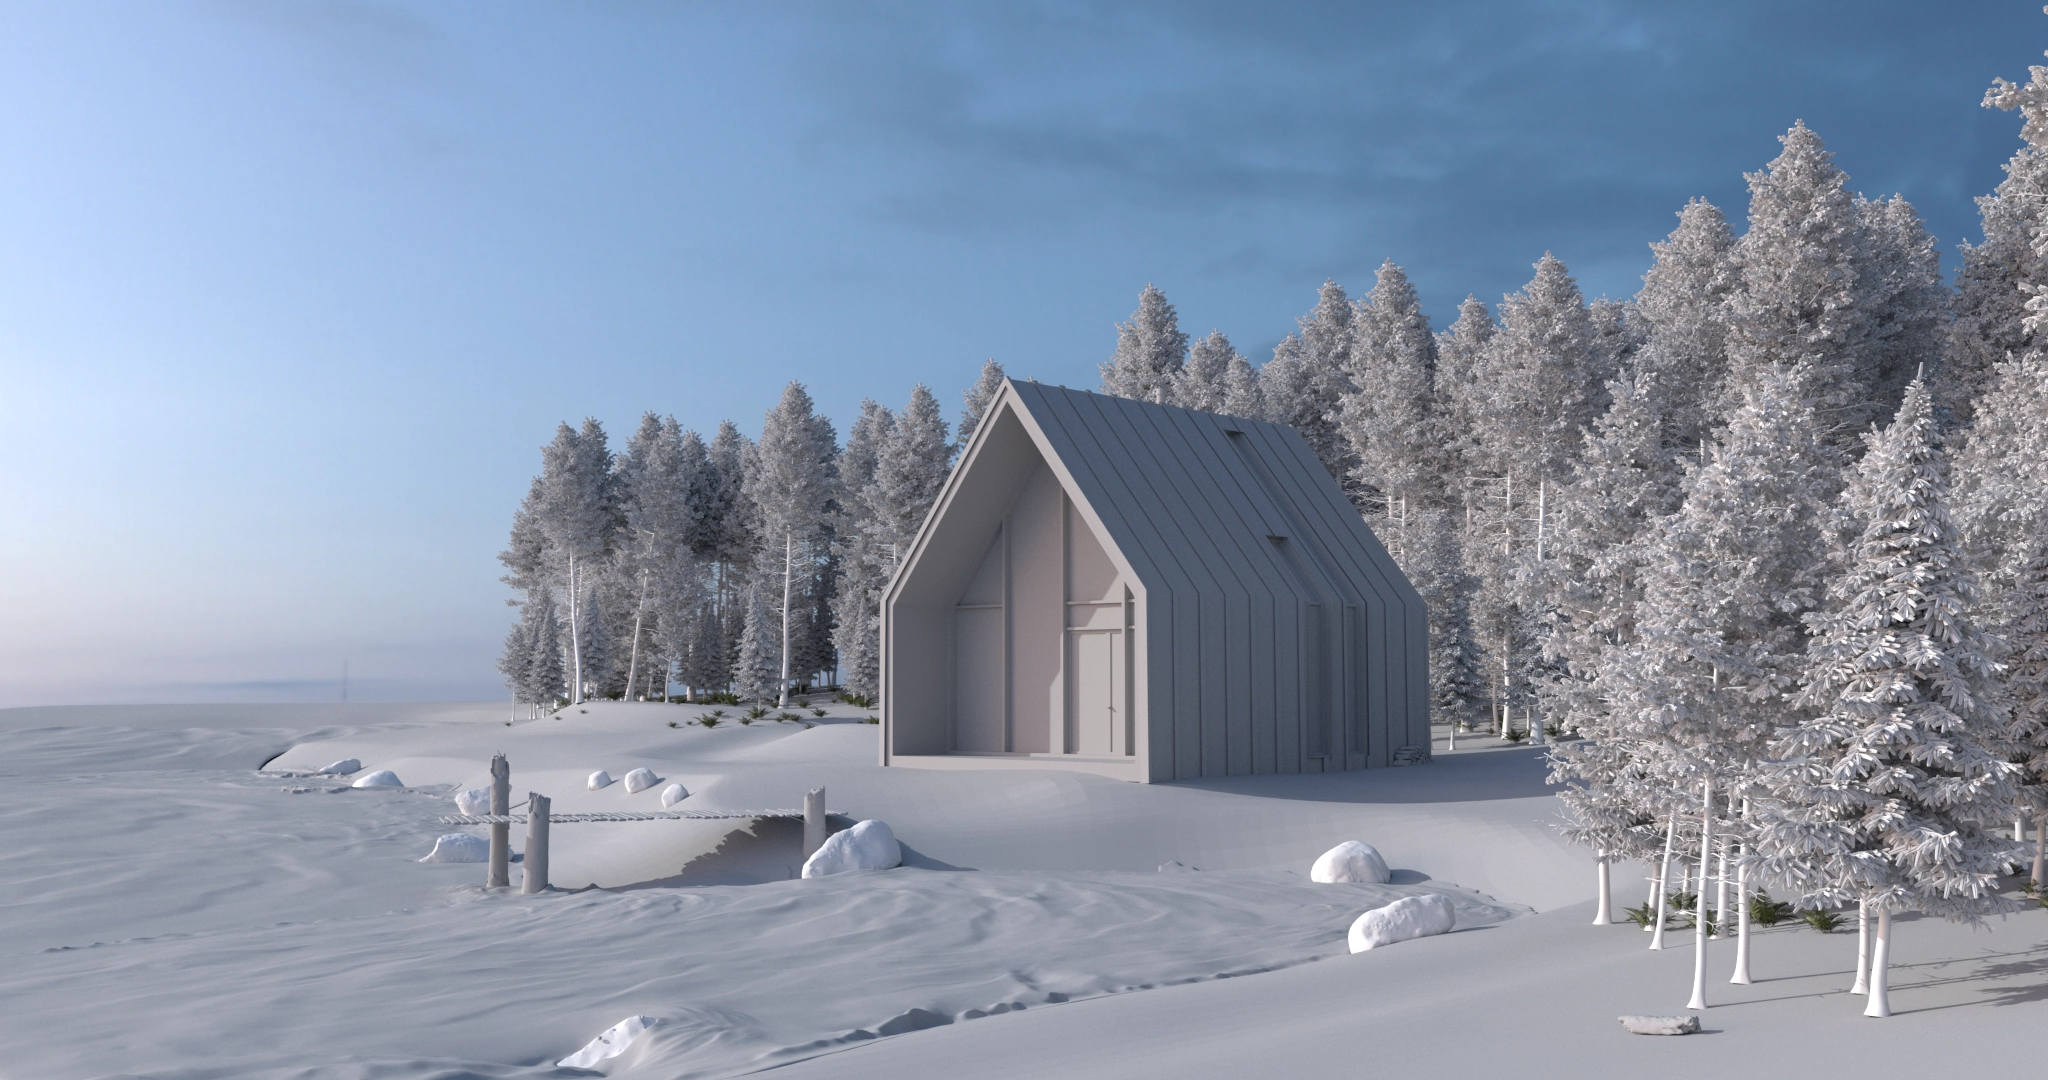
Using USD (universal scene description) procedural workflows to scatter vegetation objects. In order to maintain a high quality, we used only 3D scanned objects. The cabin is the single element which was modelled.
By this stage, the lighting of the scene can be set properly before going to the texturing phase. The white model is the perfect starting point for tweaking and adjusting the light settings. For this scene we used a combination of HDRi, Sun and some key lights.
Regarding this project, our main rendering engine was V-ray.
TEXTURING
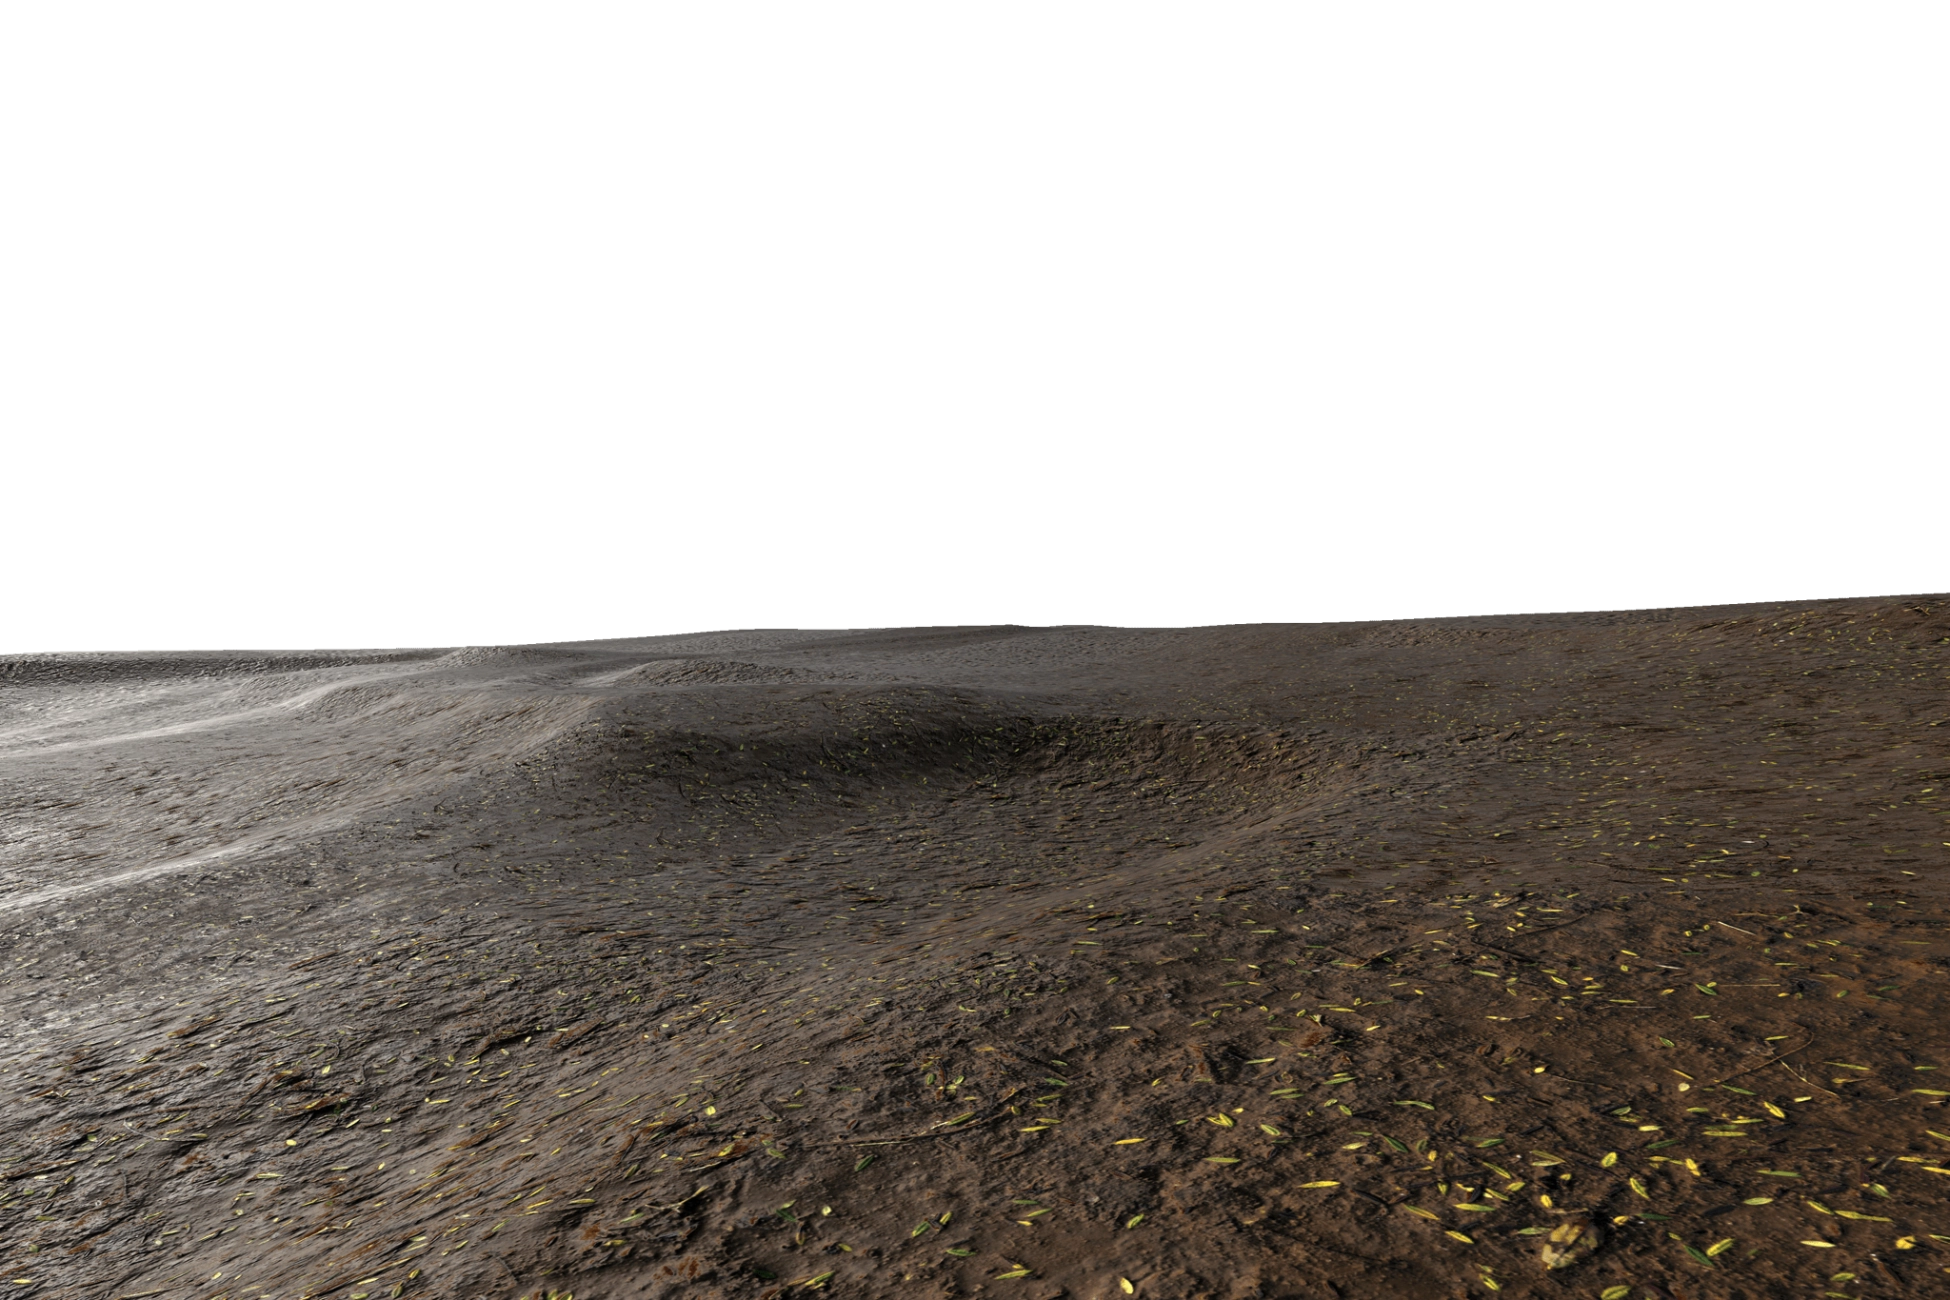
Every object and material has its own story. Dragging and dropping materials on geometries for the sake of fast achieving the rendering is a mistake. We go the extra mile and we hand paint the 3D assets using using Substance Suite or Mari, also generating procedural textures.
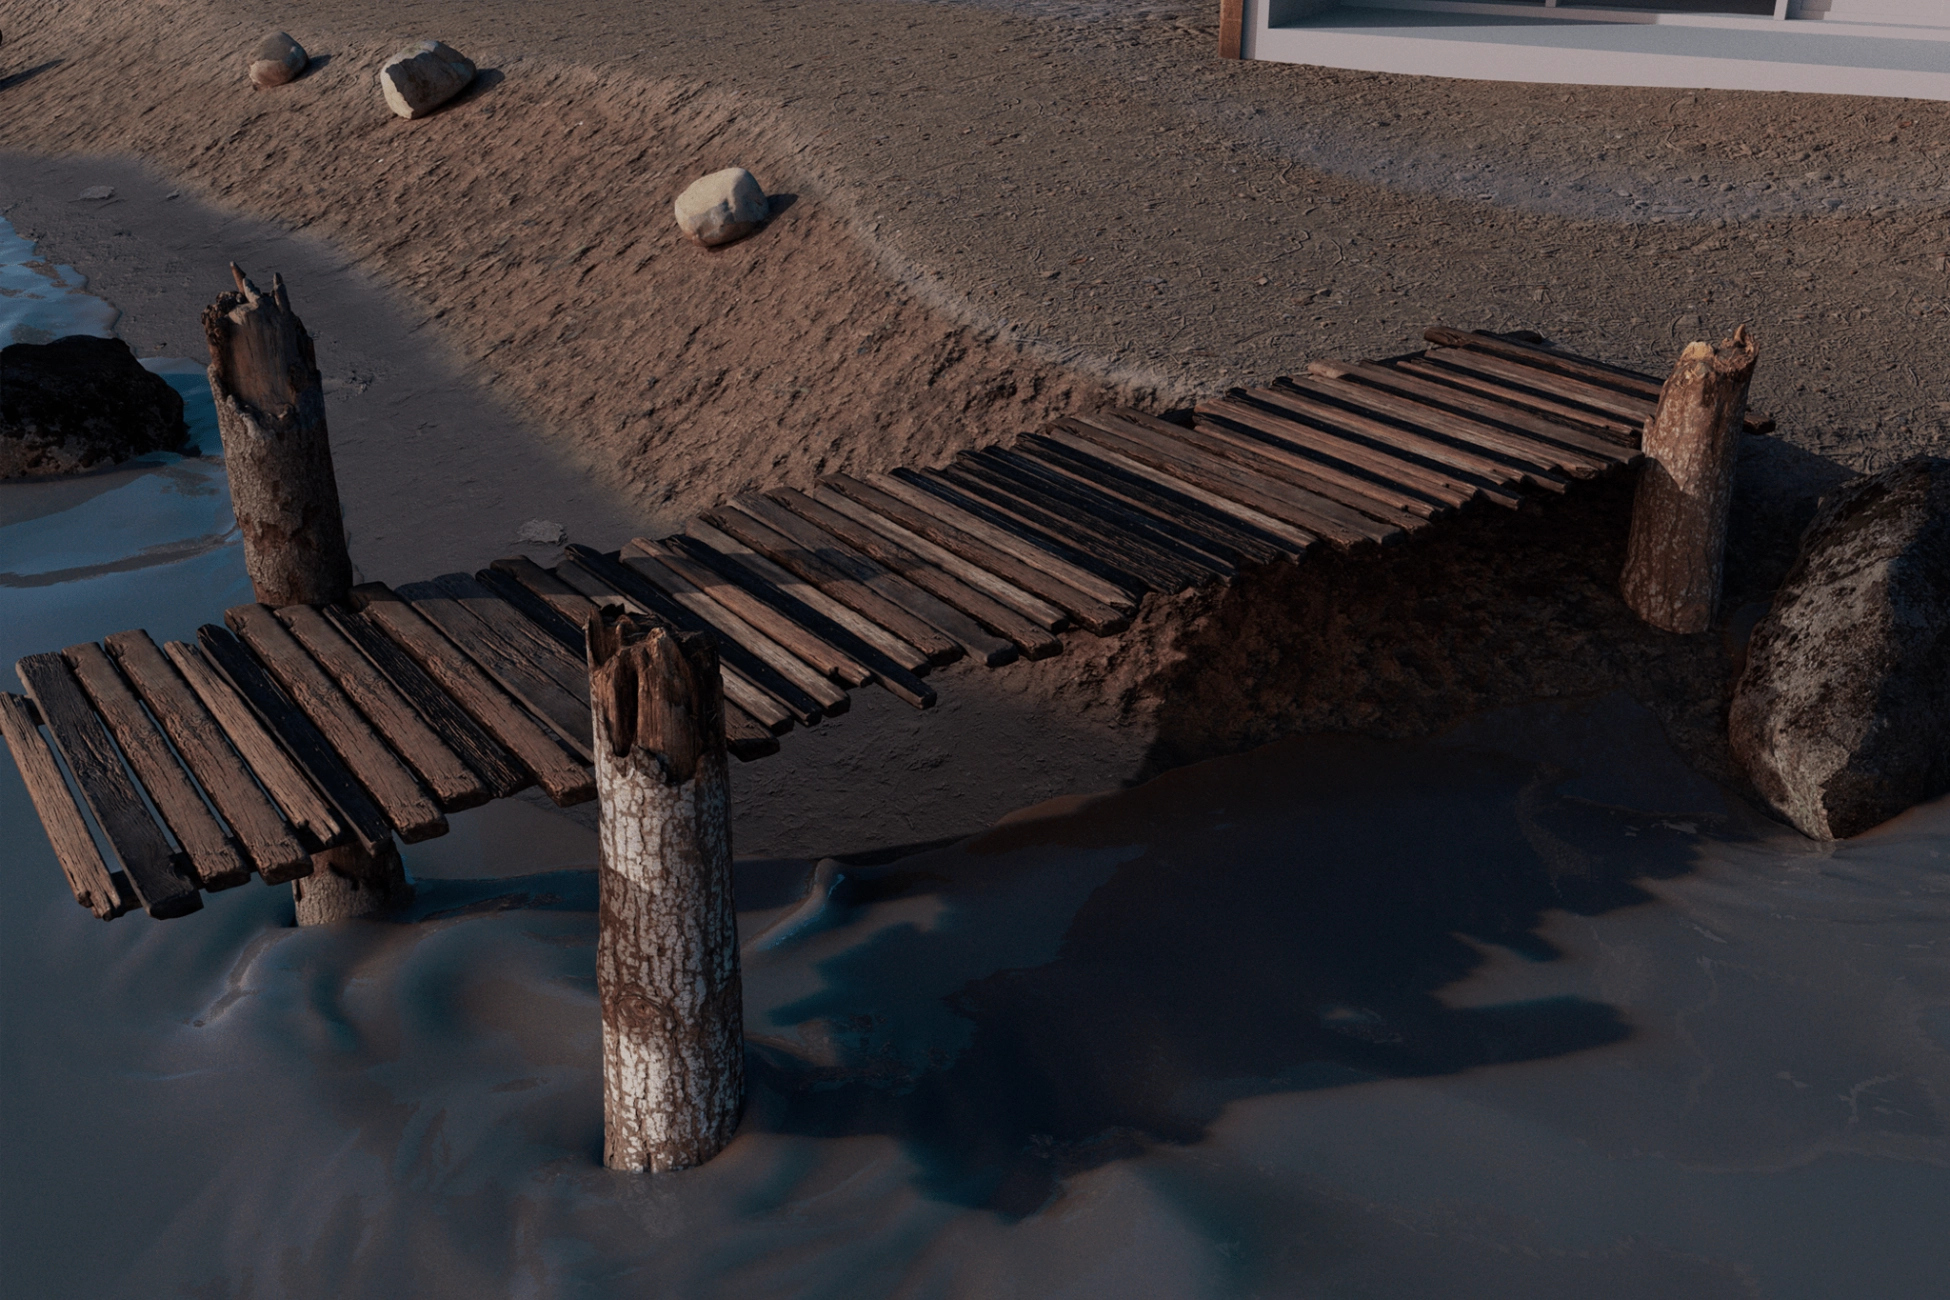
Every object and material has its own story. Dragging and dropping materials on geometries for the sake of fast achieving the rendering is a mistake. We go the extra mile and we hand paint the 3D assets using using Substance Suite or Mari, also generating procedural textures.
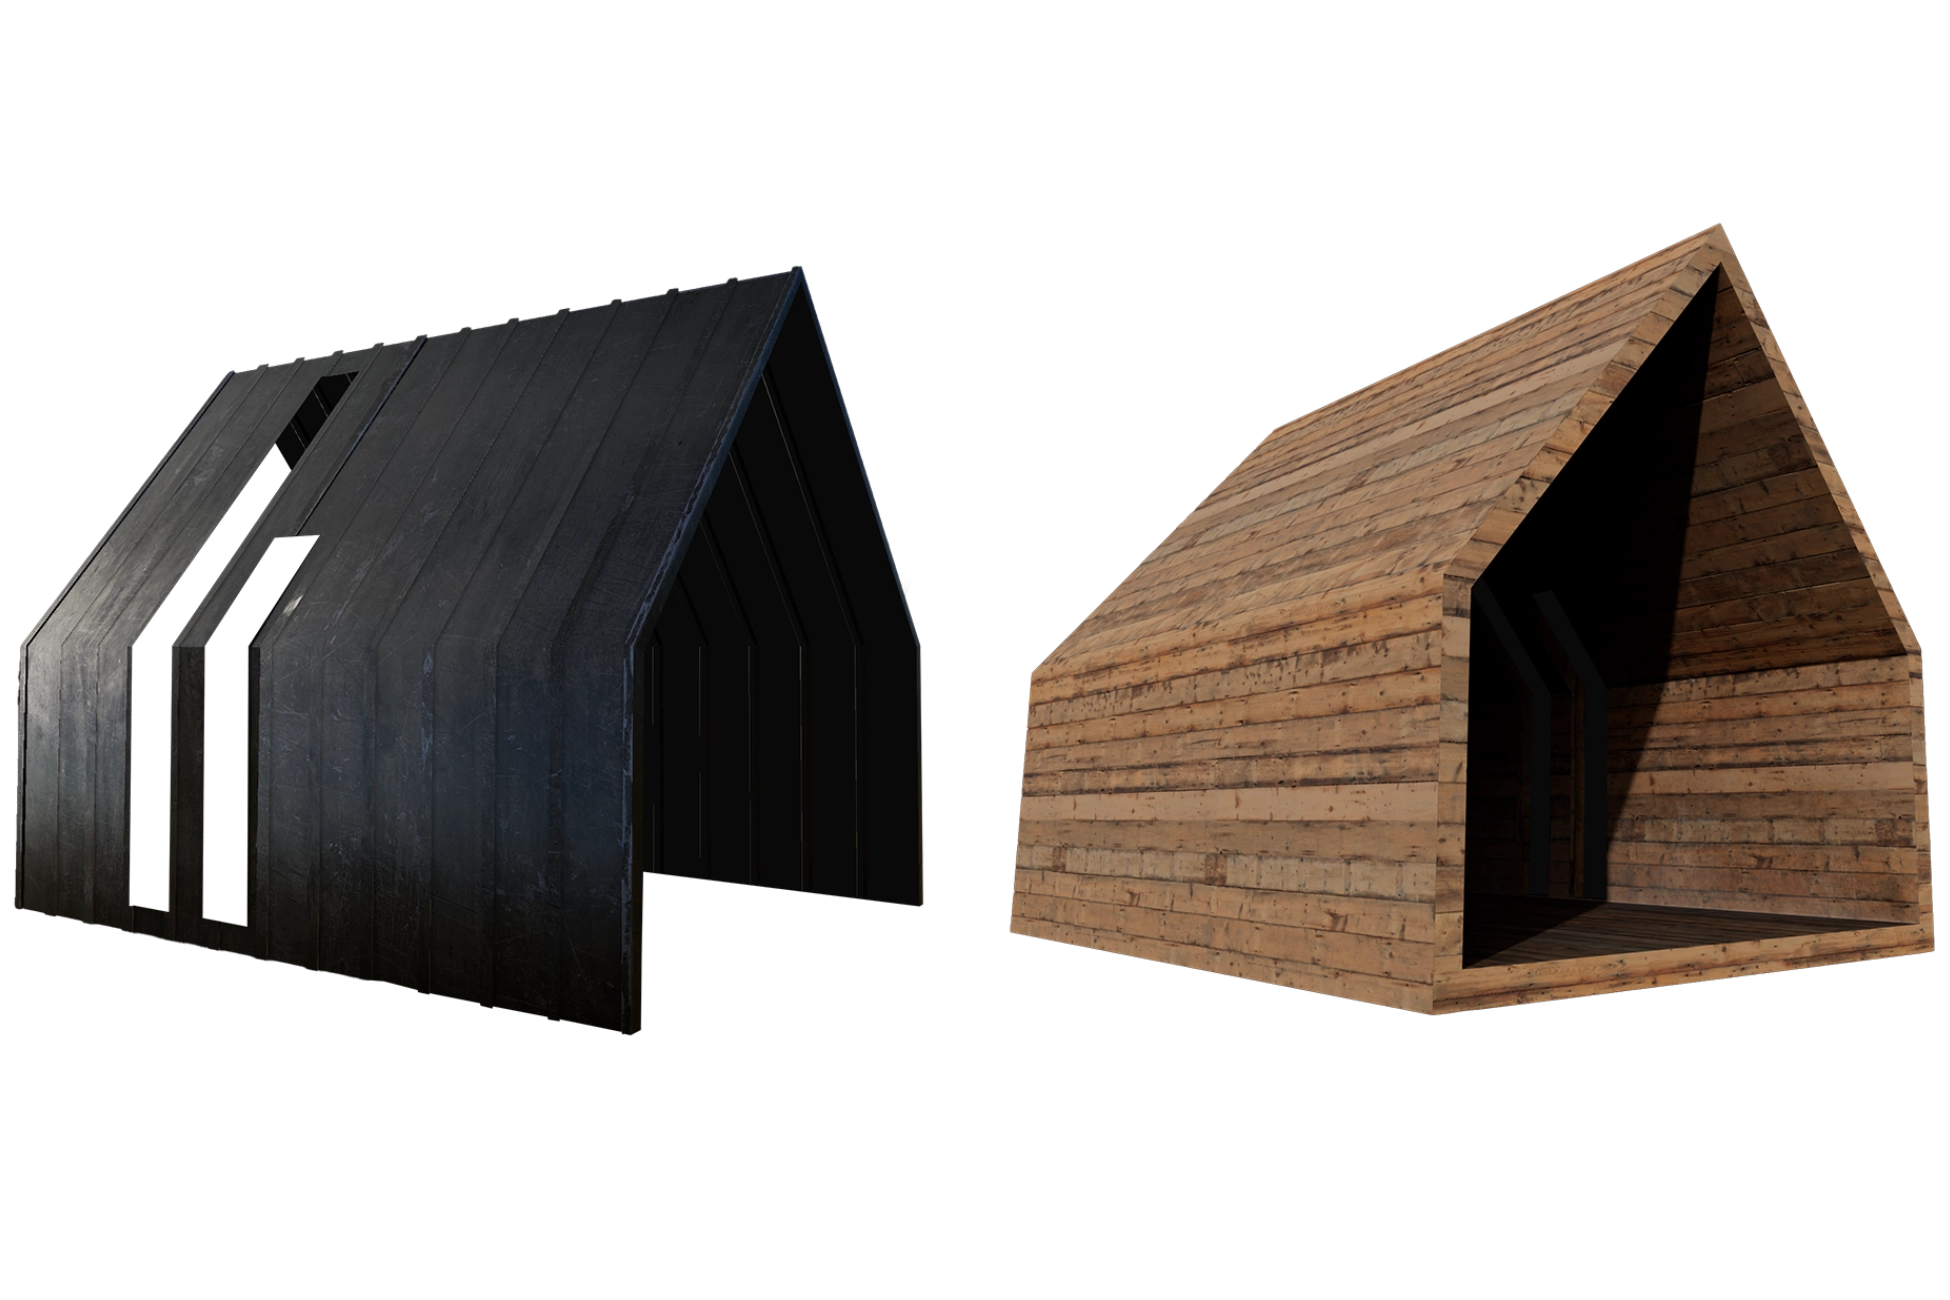
UVs UVs and UVs… We can’t stress this enough. Many times the materials aren’t showing right because of the improper UV layout. Take wooden texture from the photos above. The front side seems out of place just because of poor UVs. So neglecting this important step will cause artefacts and unwanted results.
Quick and dirty is not in our vocabulary, therefore we check all the 3D models to have the proper UV layout and unwrap.
IT’S ALL ABOUT THE DETAILS
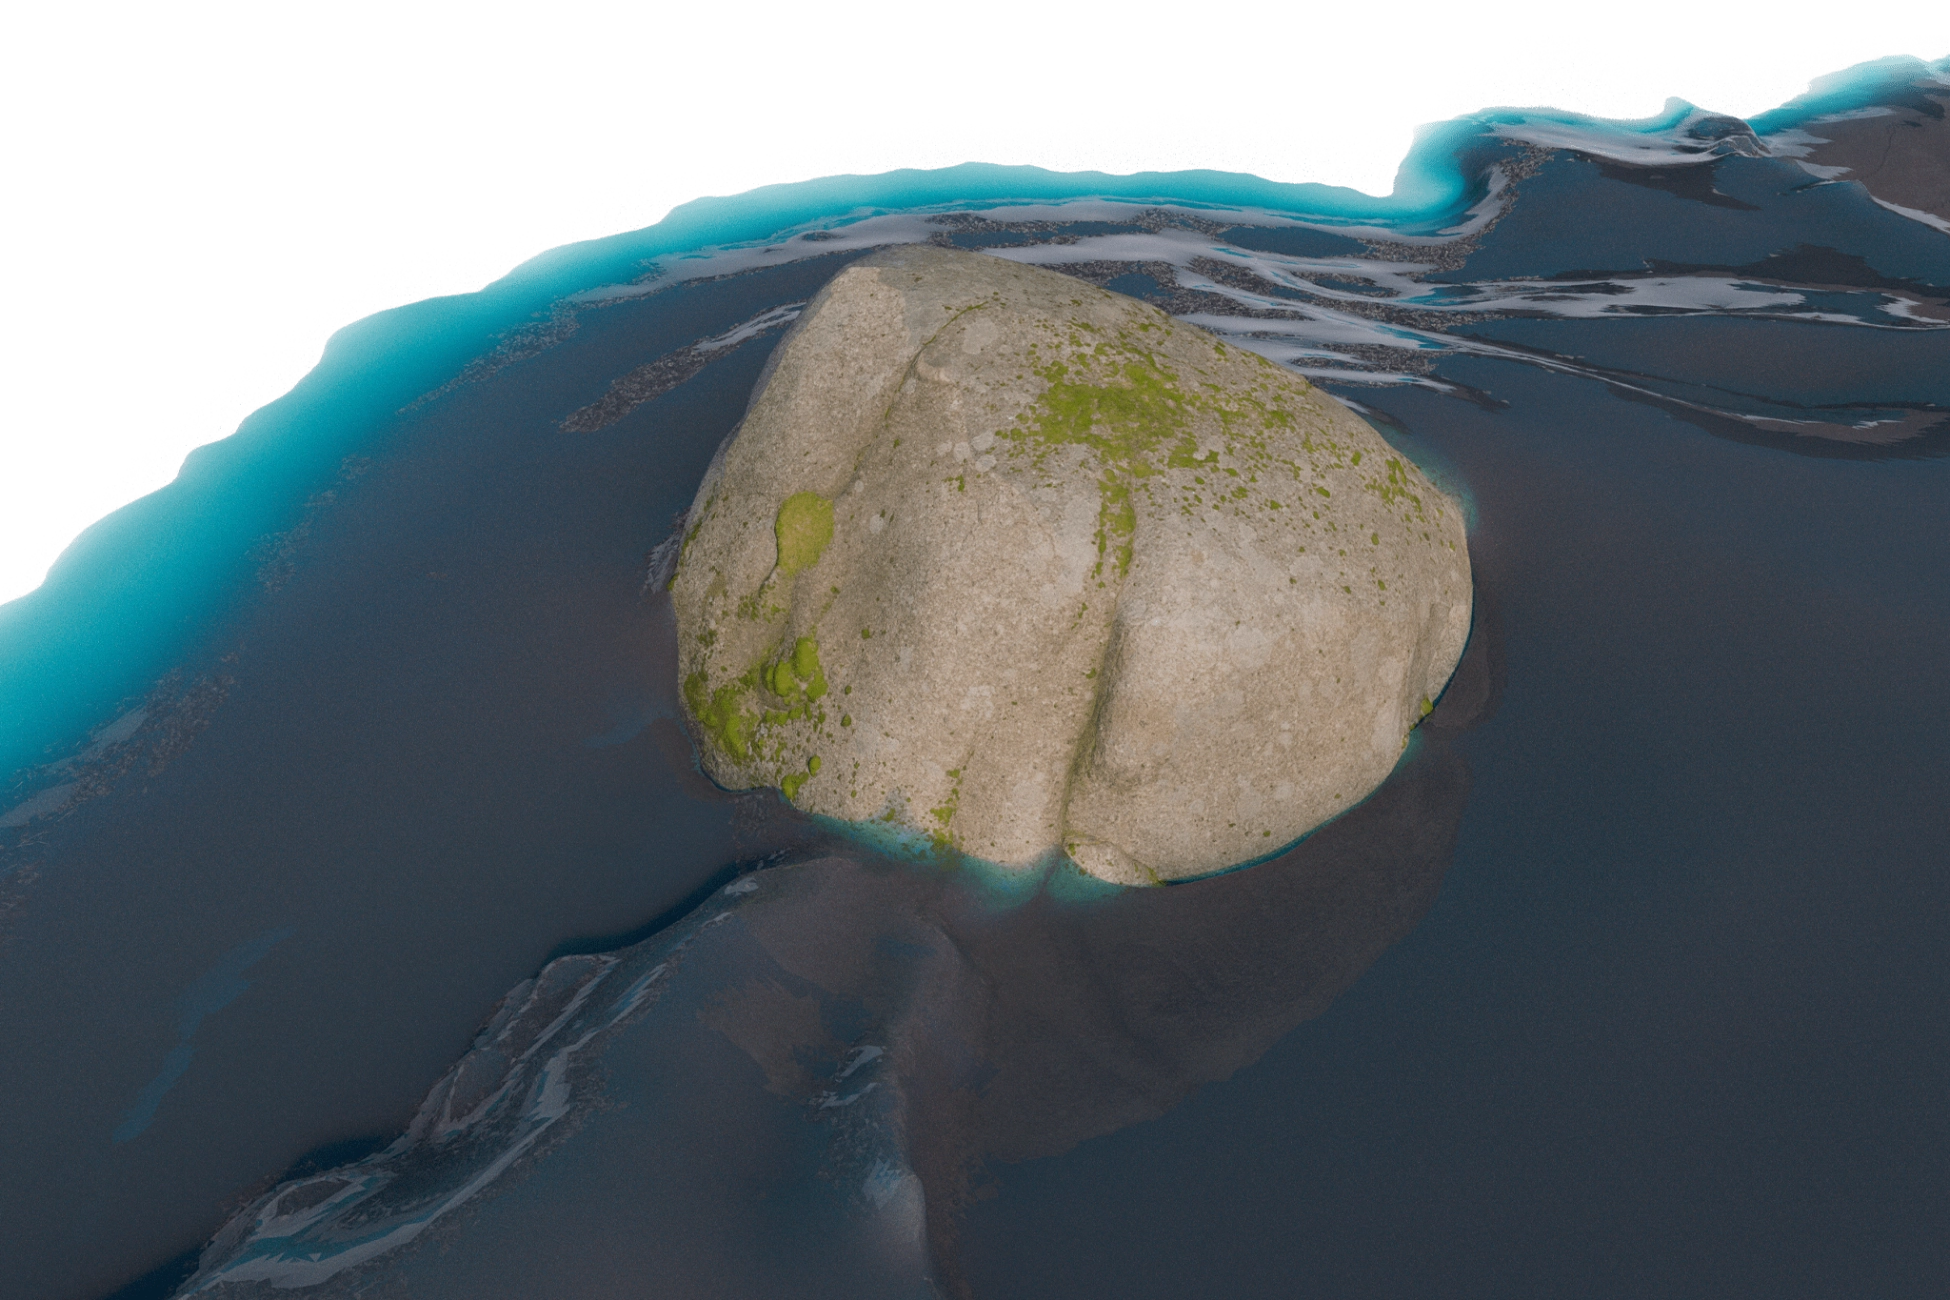
Yep, it’s true. Paying attention to details is a time consuming task, but without them the scene would feel generic. An example of the level of small details that we like to put in our 3D scenes like this is the scattered moss on every rock, using atlases from Quixel Megascans.
All the textures are 4k and 8k resolution for the highest quality possible.
The scene was massive. Literally everything we see is a 3D element, besides the HDR sky. After we were satisfied with the level of detail, we set up the final position of the camera and rendered the raw output on high settings at a final resolution of 8K.
POST PROCESS
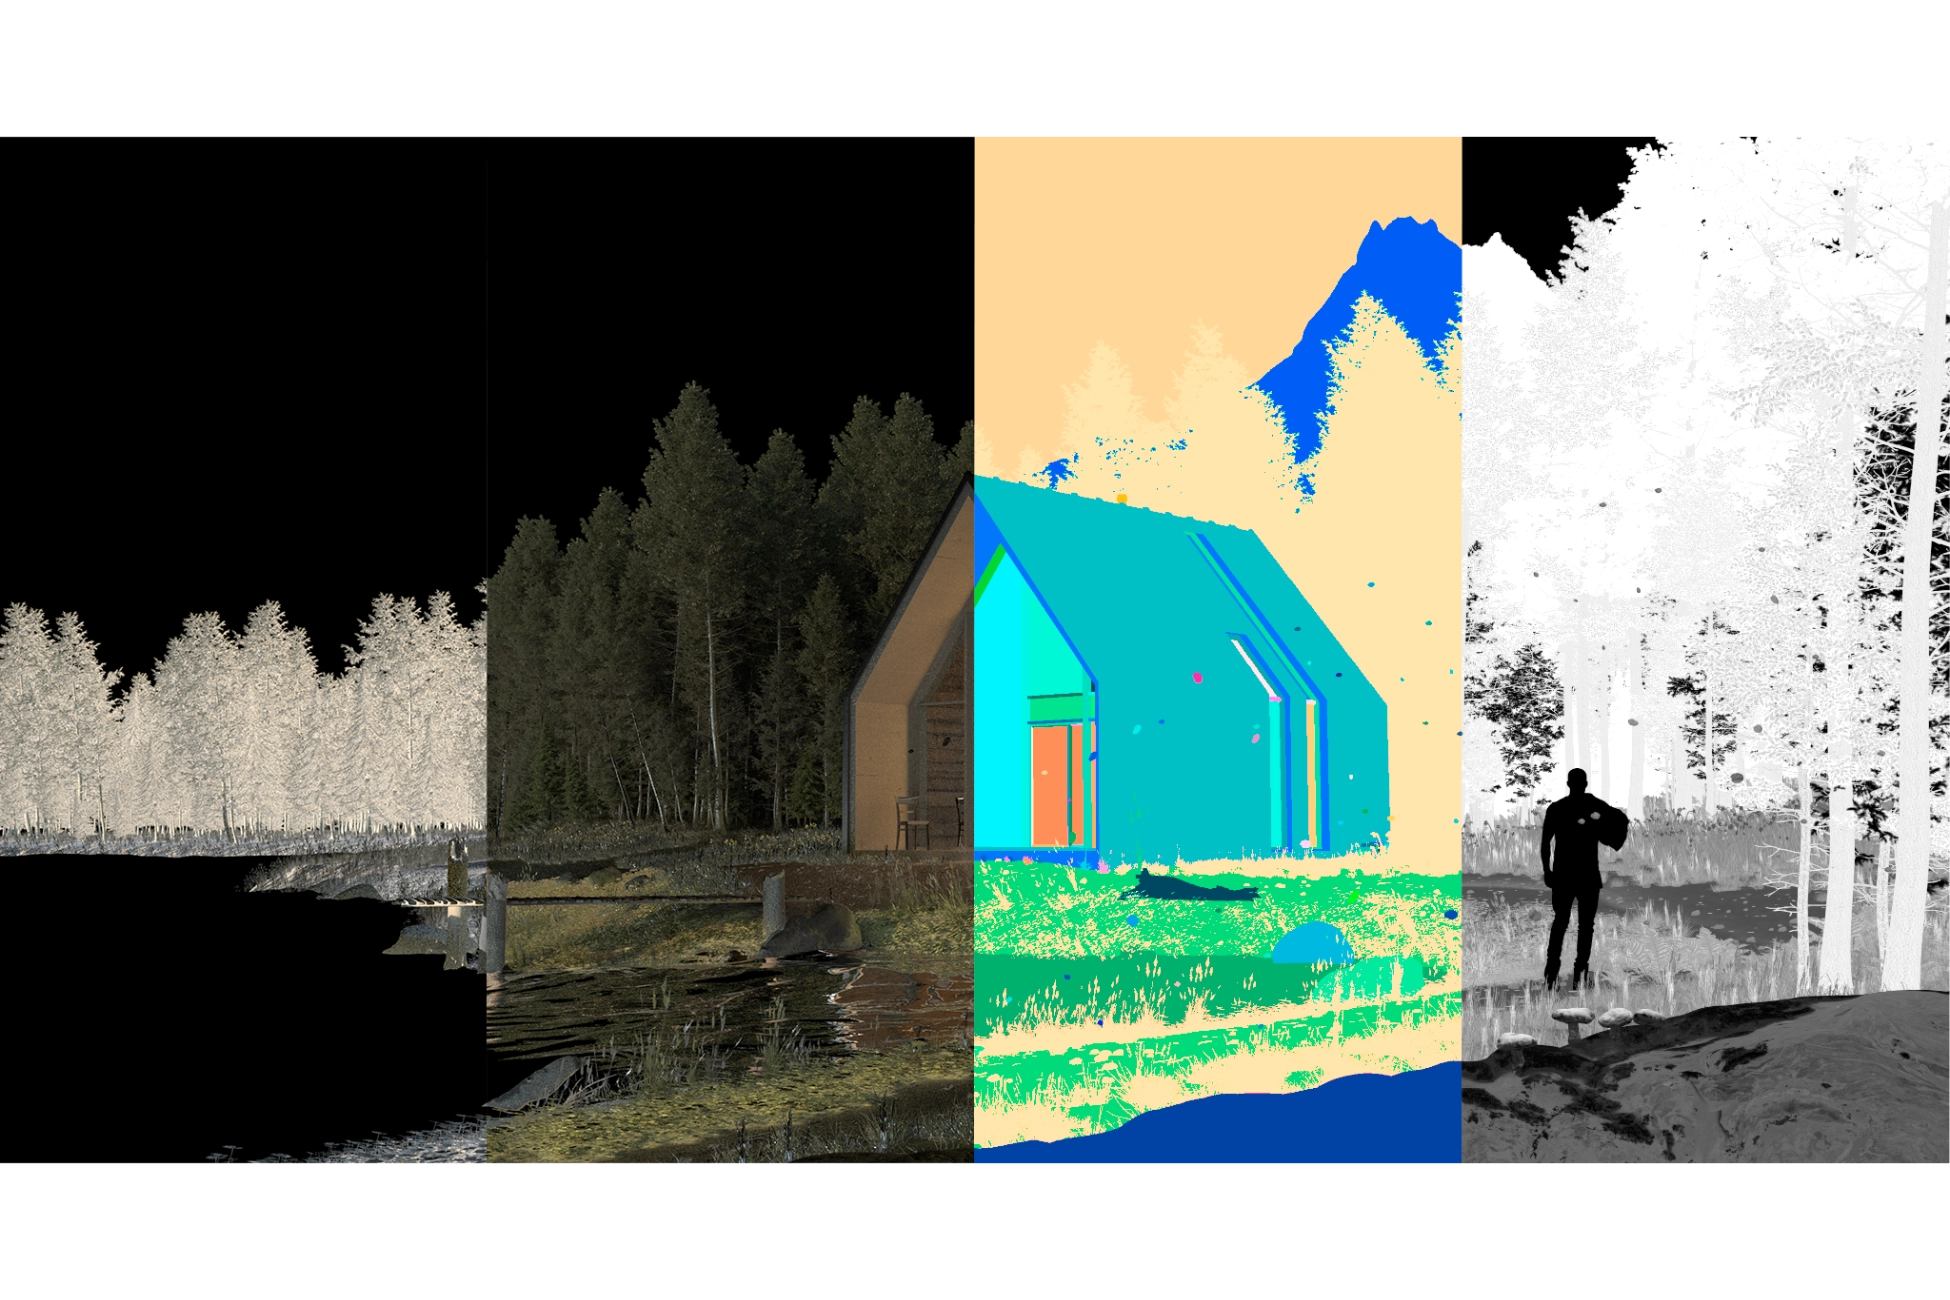
Together with the raw output, we exported all render elements in order to make further adjustments. We resume the post processing phase on almost all projects to just collor corrections and subtle changes only.
FINAL RESULT
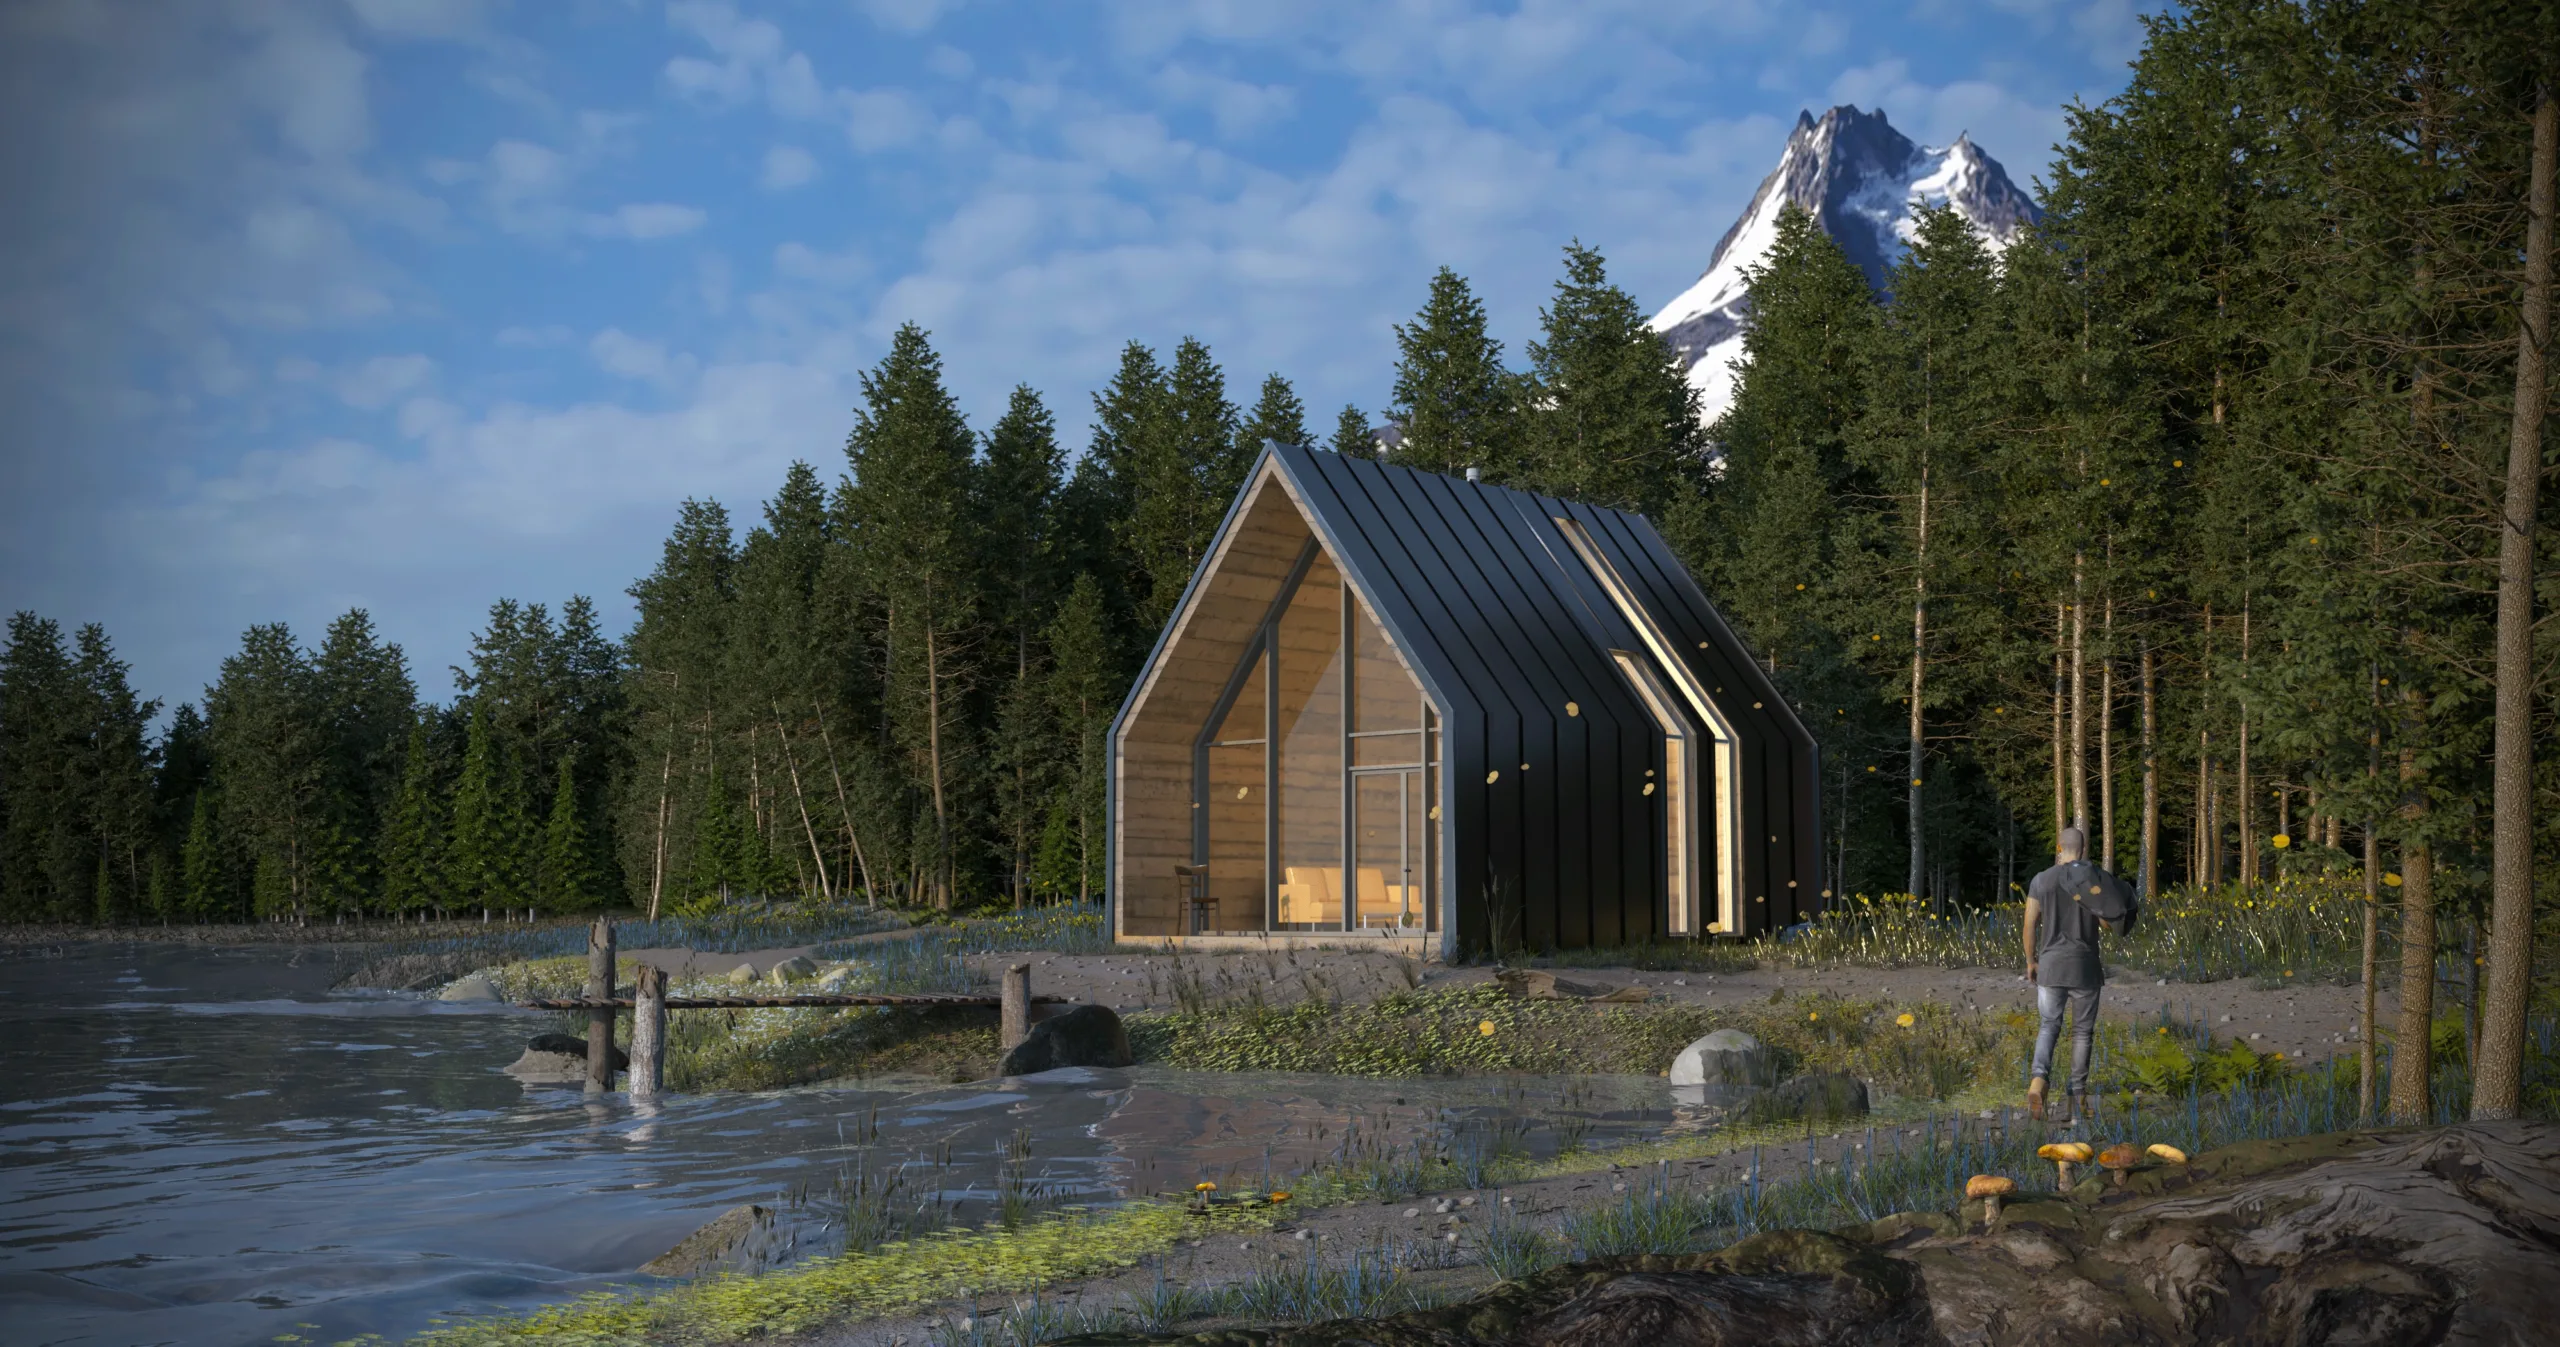
We hope you enjoyed our small breakdown of this #Archviz project. More breakdowns are on the way.
If you are an architectural office and you want a full 3D rendering of your project made by our workflow, you can get in touch with us at anytime through our contact page or email.
Thank you. Stay sharp. Stay productive.


